How To Create A DIY Otter Costume: Step-by-Step Guide For All Ages
Creating a DIY otter costume might sound like a big challenge, but trust me, it's way easier than you think. Whether you're looking to dress up for Halloween, a themed party, or just want to have some fun with your kids, this step-by-step guide has got you covered. An otter costume is not only adorable but also super versatile. You can make it for toddlers, kids, teens, or even adults. The best part? It’s budget-friendly and doesn’t require any fancy sewing skills. So, let’s dive right in!
When it comes to crafting costumes at home, the key is simplicity and creativity. With just a few basic materials and some time set aside, you can create something truly unique. Plus, making a DIY otter costume is a great bonding activity for families. Imagine the look on your kid’s face when they see their very own otter costume come to life. It’s pure magic!
Now, before we get started, let’s talk about why otters are such a cool choice for a costume. They’re cute, playful, and instantly recognizable. Plus, they represent nature and the environment, which makes them perfect for eco-conscious events or educational activities. So, whether you’re doing this for fun or for a meaningful cause, this guide will help you every step of the way.
- Embracing The Journey Growing Out Short Hair Over 50
- Bob Haircut And Glasses The Ultimate Guide To Nailing This Trendy Look
Why Choose an Otter Costume?
Let’s face it—otters are freaking adorable. They’re playful, social, and just plain fun to watch. If you’ve ever seen videos of otters holding hands or floating on their backs, you know exactly what I’m talking about. An otter costume captures that playful spirit and brings it to life. Plus, otters are a symbol of nature and conservation, making them a great choice for eco-friendly events or school projects.
Here’s why an otter costume is a top pick:
- It’s universally loved by all ages
- It’s easy to recognize and mimic
- It’s versatile for different occasions
- It’s a great conversation starter
And the best part? You don’t need to spend a fortune on store-bought costumes when you can make one yourself. Ready to learn how? Let’s go!
- Low Maintenance Short Over The Ear Haircuts The Ultimate Guide To Stylish And Effortless Looks
- Why Older Womens Hairstyles Bobs Are The Ultimate Game Changer
Materials You’ll Need for Your DIY Otter Costume
Before we jump into the steps, let’s talk about what you’ll need. The beauty of this DIY project is that most of these materials are either things you already have at home or can easily find at a craft store. Here’s a quick list:
- A plain hoodie or sweatshirt (brown or gray works best)
- Felt fabric in brown, gray, and white
- Fabric glue or hot glue gun
- Scissors
- Velcro strips (optional)
- Stuffing material (for 3D features like ears and paws)
- Black markers or fabric paint for details
- A sewing kit (if you want to sew instead of glue)
Don’t worry if you don’t have everything on this list. You can always improvise with what you have. For example, if you don’t have felt fabric, you can use construction paper or even old clothes. The key is to be creative and have fun!
Tips for Choosing the Right Materials
When picking materials, keep in mind the age of the person wearing the costume. For toddlers, you’ll want something lightweight and easy to move in. For adults, durability might be more important, especially if you plan to wear it for long periods. Here are a few tips:
- Use soft fabrics for comfort
- Choose materials that are easy to clean
- Opt for hypoallergenic options if you’re crafting for sensitive skin
Remember, the goal is to make something that’s both functional and fun. Let’s move on to the steps!
Step 1: Design the Otter Face
The otter face is the heart of your costume. It’s what makes your creation instantly recognizable. Start by sketching the face design on paper to get an idea of what you want. Then, transfer that design onto felt fabric using a pencil or fabric chalk.
Here’s how to create the otter face:
- Cut out two large oval shapes for the cheeks
- Cut out smaller ovals for the nose and mouth area
- Add white felt circles for the eyes
- Use black markers or fabric paint to draw the nose, mouth, and whiskers
Once you have all the pieces cut out, glue them onto the hoodie. Make sure the face is centered and symmetrical. If you’re worried about glue not holding, you can always sew the pieces on for extra durability.
Adding Extra Details to the Face
For an extra touch, consider adding some 3D features to the face. For example, you can stuff the cheeks with a little bit of cotton to make them look more lifelike. You can also add small felt triangles for the ears, which we’ll talk about in the next step.
Pro tip: Use Velcro strips to attach the face pieces if you want them to be removable. This way, the hoodie can still be worn as a regular piece of clothing.
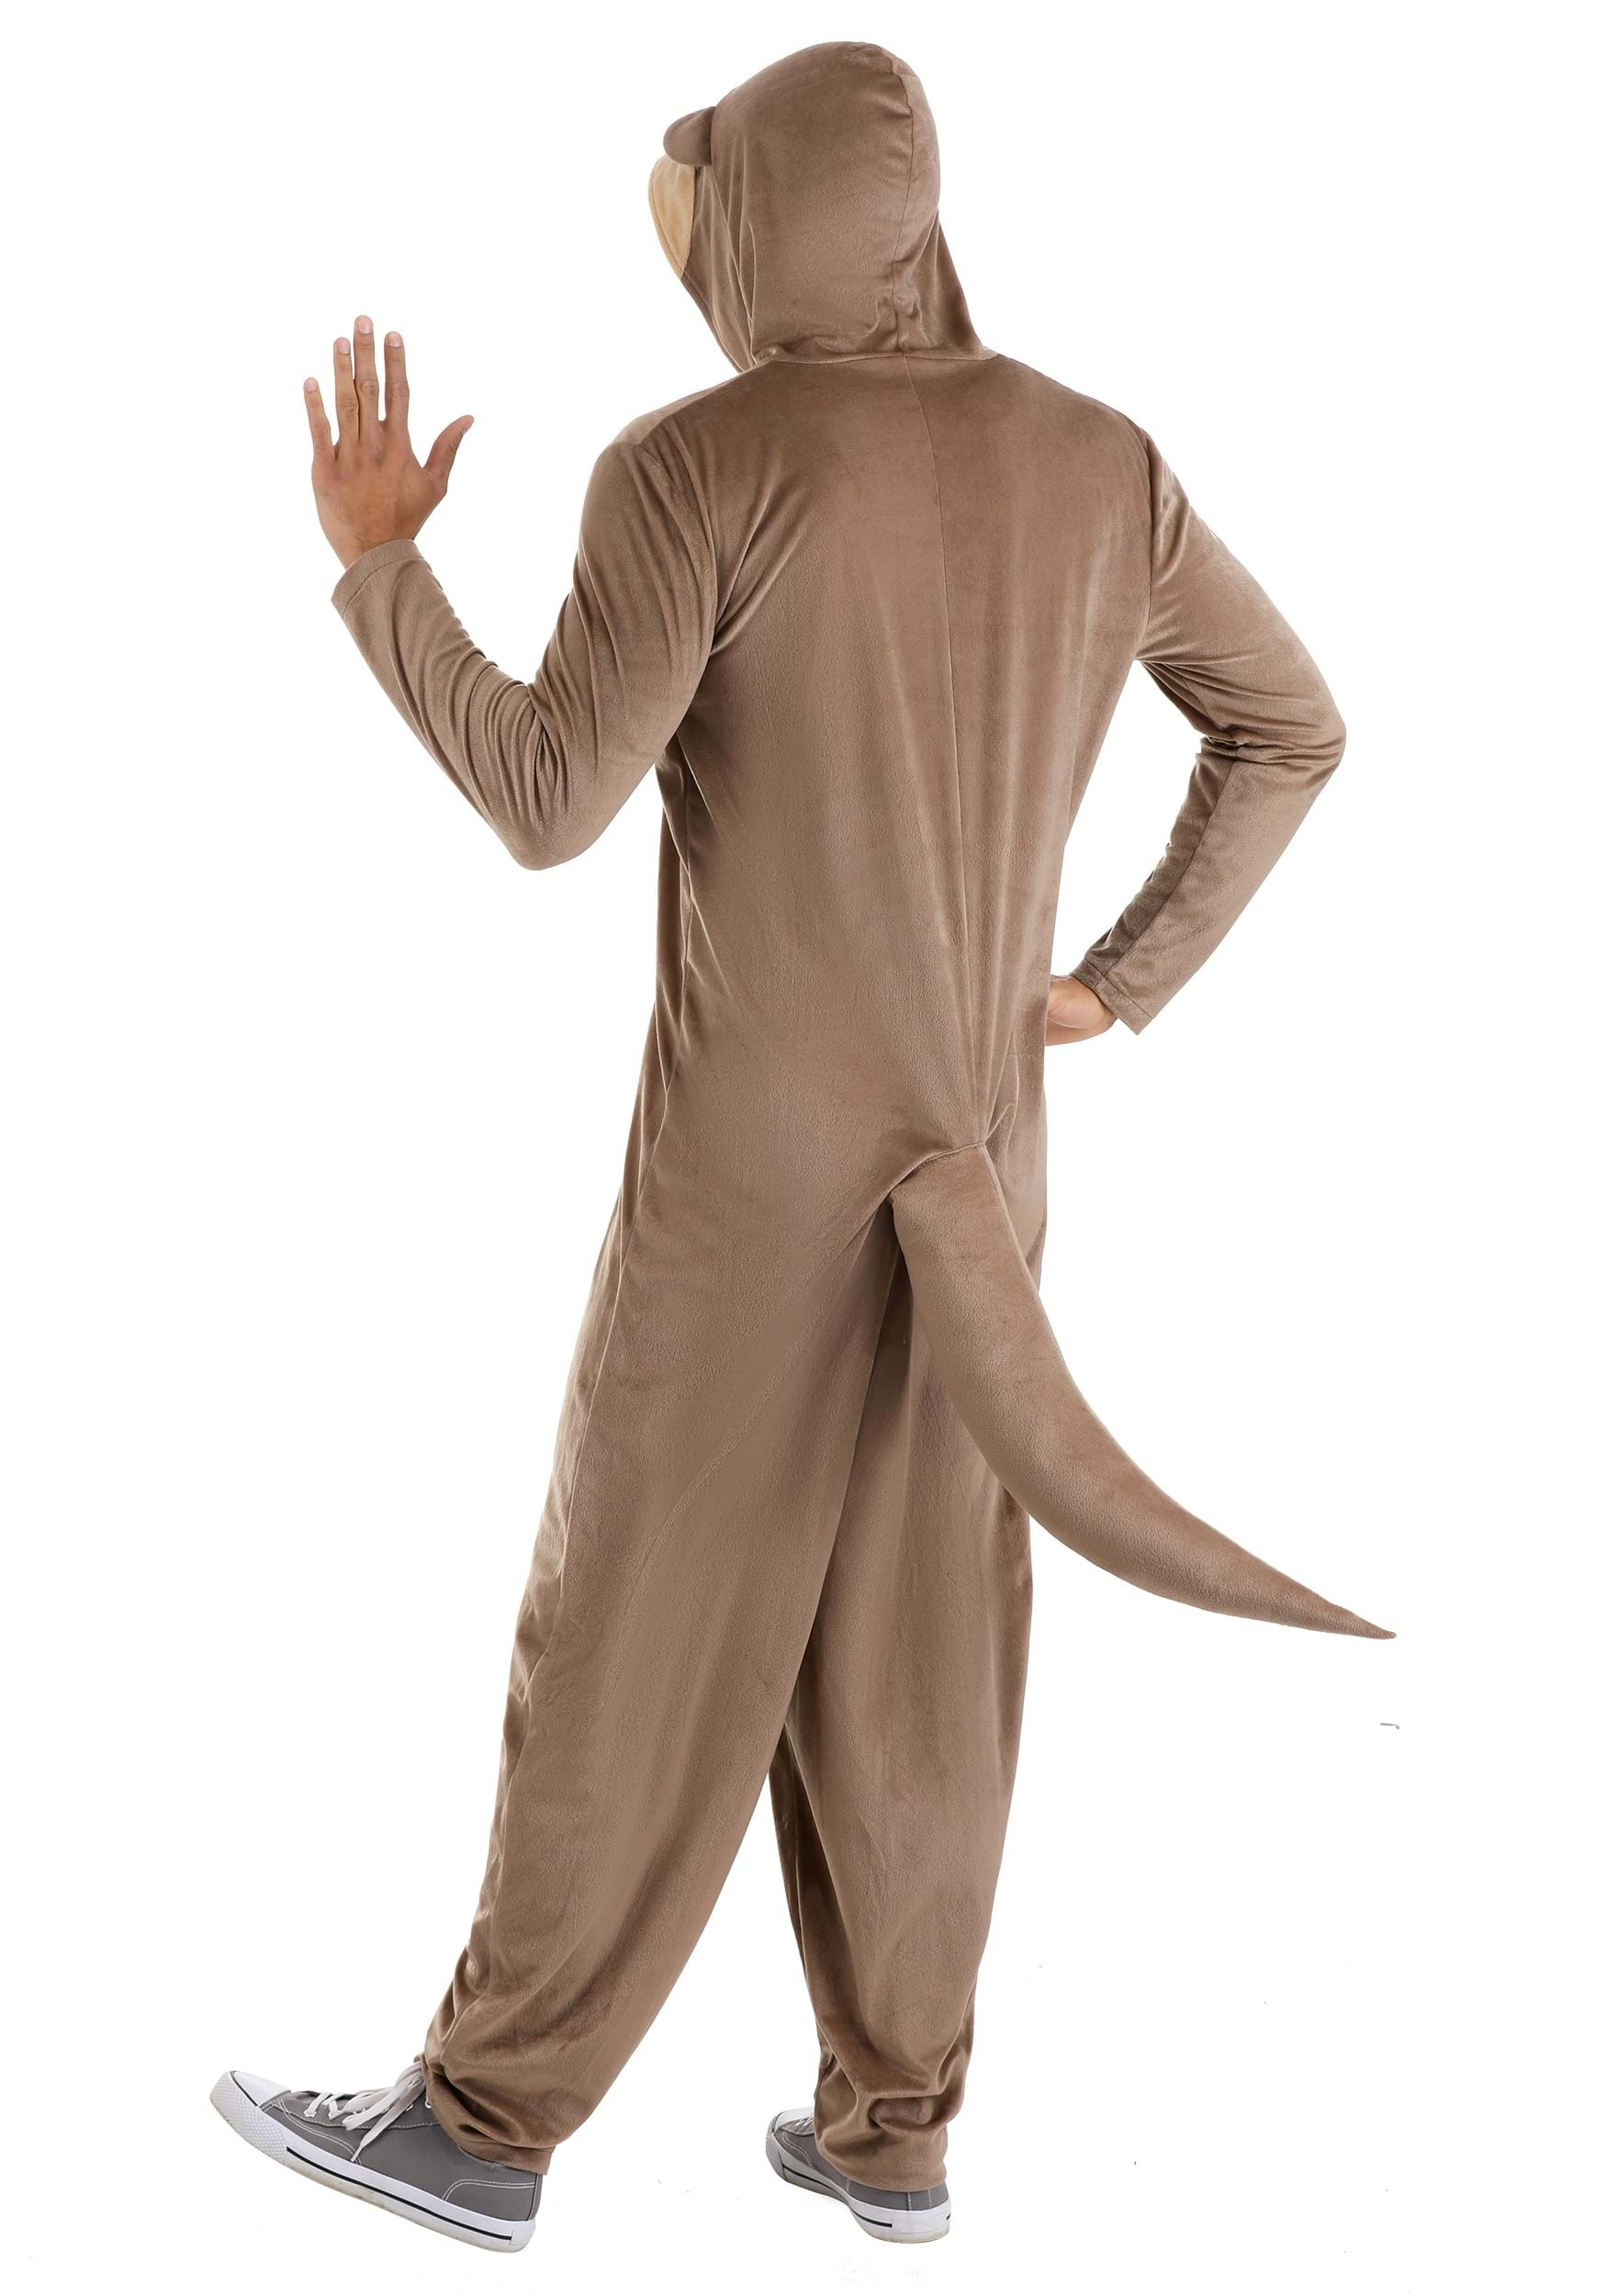
Step 2: Create the Otter Ears
Now that the face is done, let’s move on to the ears. Otter ears are small and rounded, so they’re pretty easy to create. Here’s what you’ll need to do:
- Cut out two small ovals from brown felt
- Add a smaller white oval in the center of each ear for contrast
- Stuff the ears lightly with cotton for a 3D effect
- Glue or sew the ears onto the hood of the hoodie
Make sure the ears are evenly spaced and aligned with the face. If you’re making this costume for a child, you might want to add a little extra padding to make the ears stand out more.
Alternative Ear Designs
If you want to get creative, you can experiment with different ear designs. For example, you could make the ears slightly larger or add some fluffy fur around the edges. The possibilities are endless!
Step 3: Add the Otter Paws
No otter costume is complete without paws. These are the perfect finishing touch to make your creation look authentic. Here’s how to make the paws:
- Cut out four paw shapes from brown felt
- Add white felt pads to the center of each paw
- Glue or sew the paws onto the sleeves of the hoodie
For an extra touch, you can add some black lines to mimic the webbing between the otter’s toes. This adds a level of detail that will really impress people.
Customizing the Paws
Depending on the age of the person wearing the costume, you might want to adjust the size of the paws. For toddlers, you’ll want to make them a little smaller and more delicate. For adults, you can go bigger and bolder.
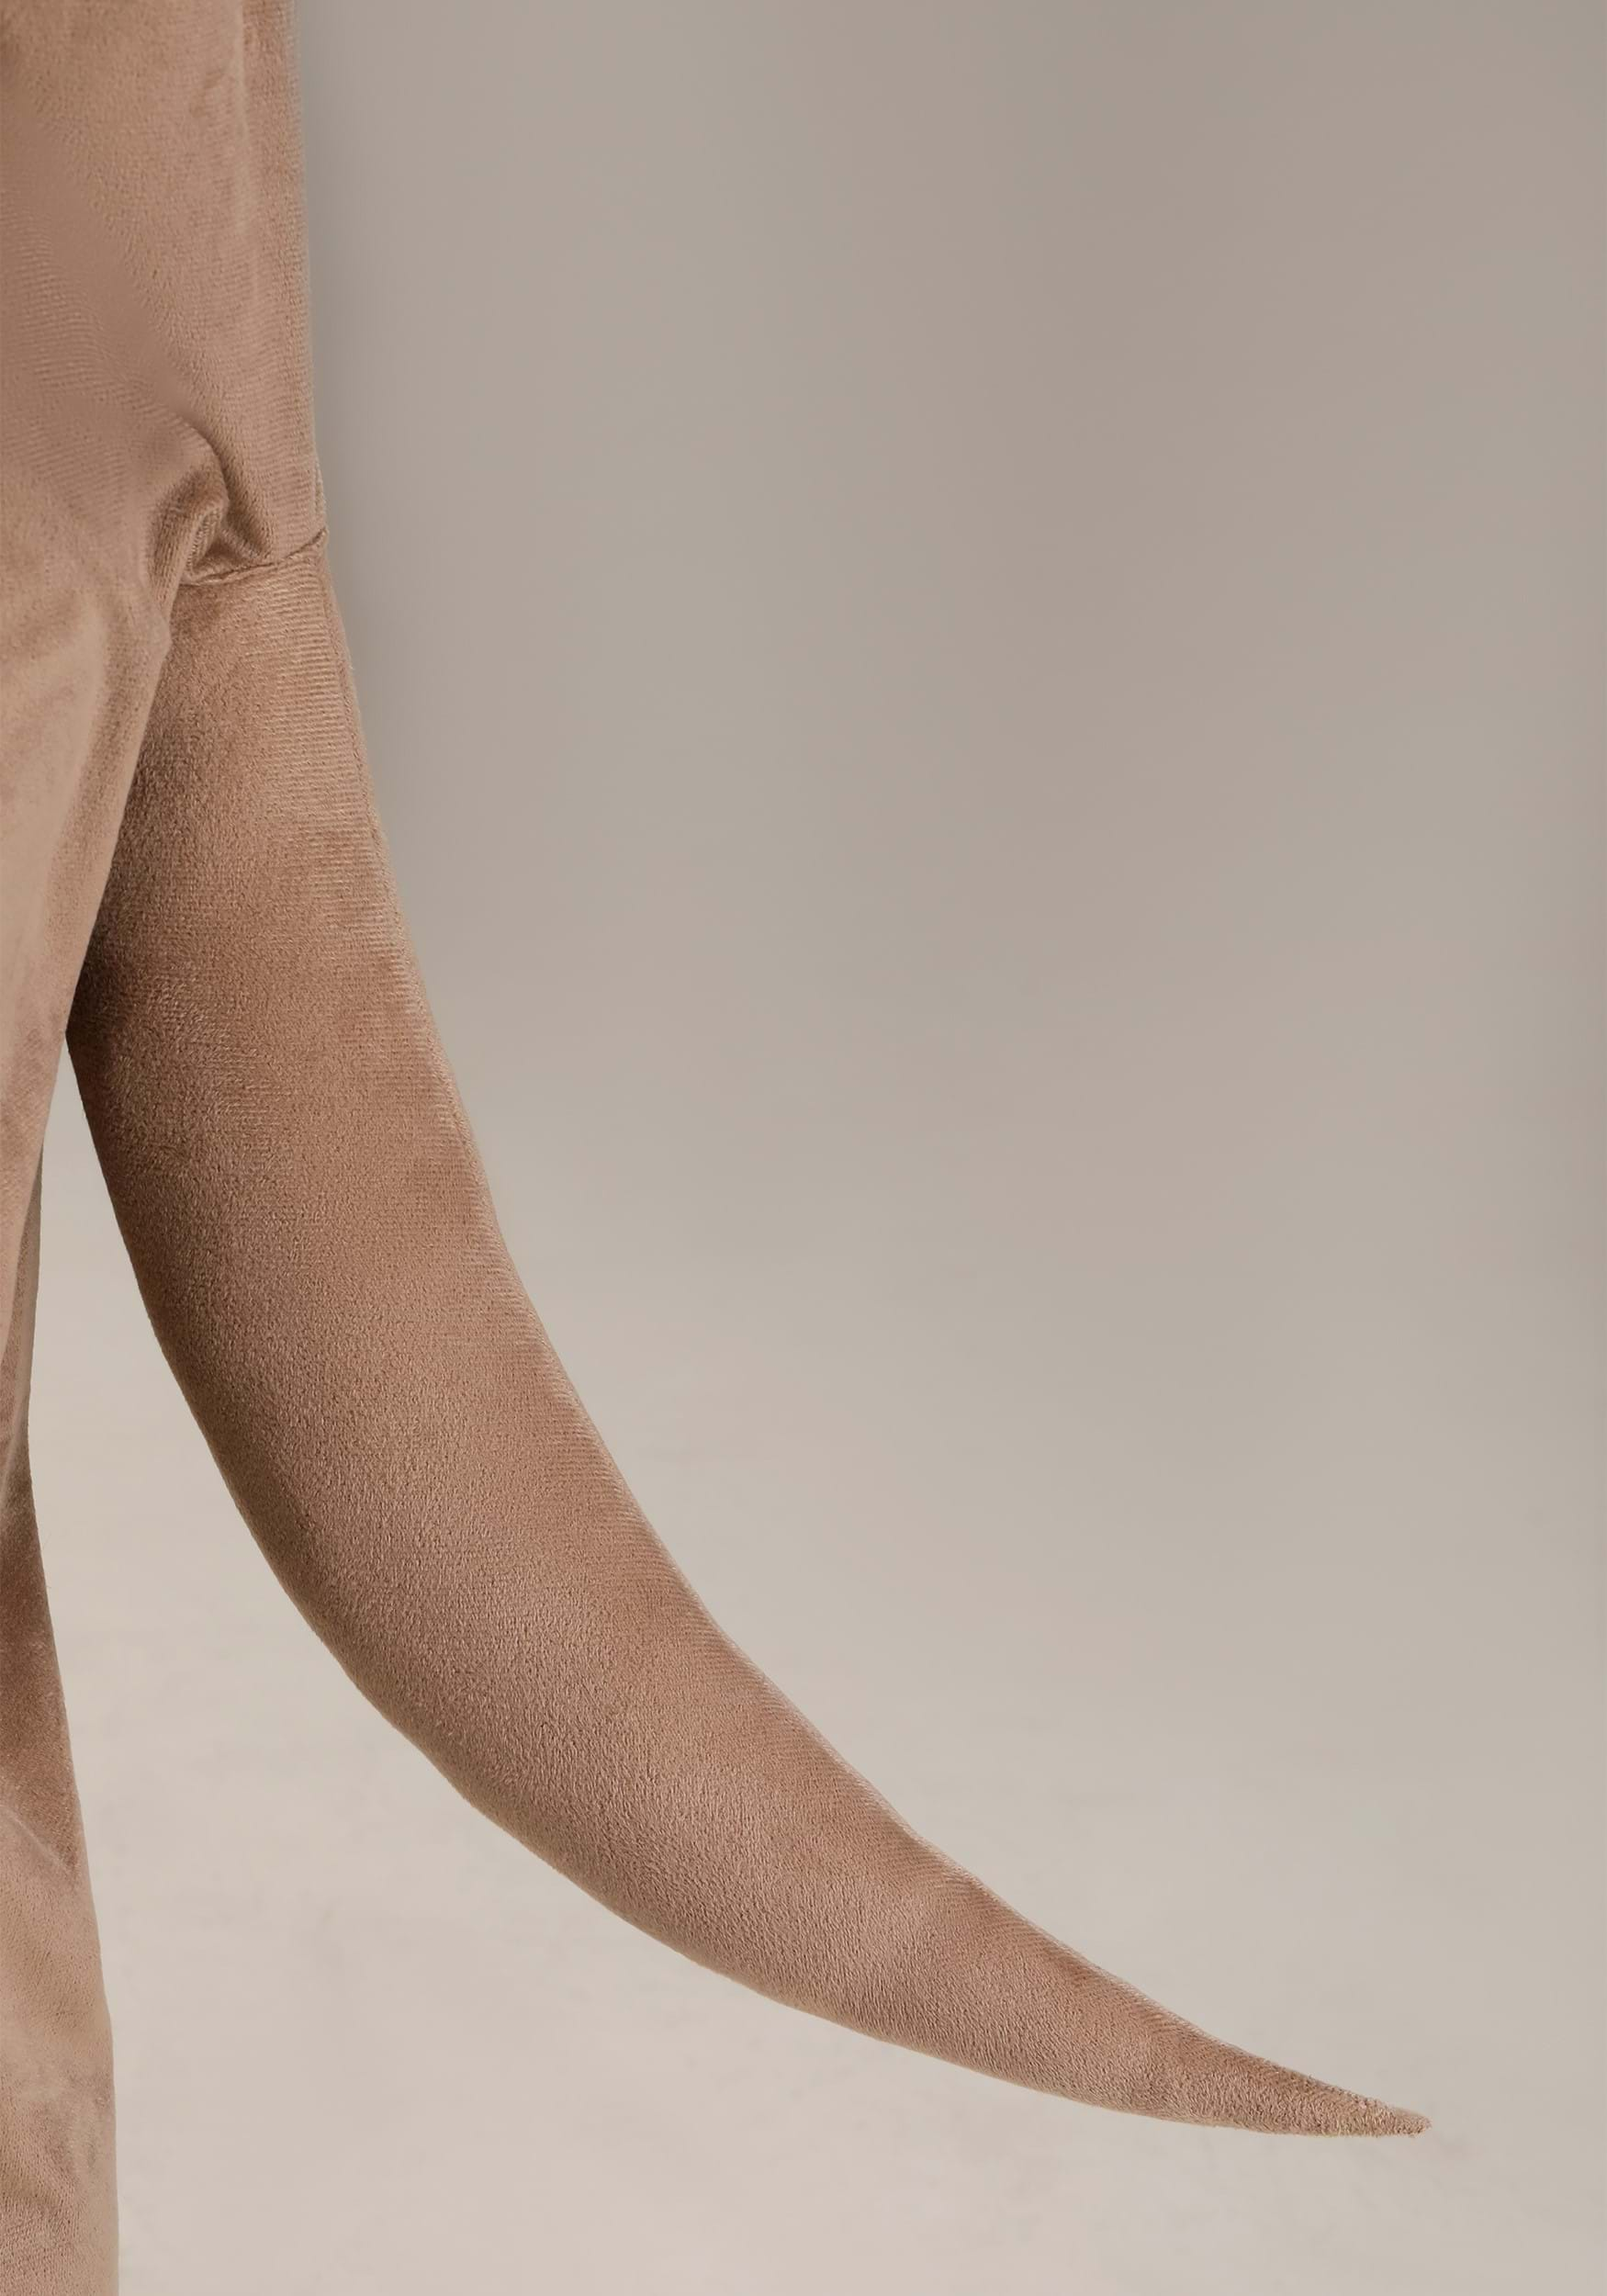
Step 4: Create the Otter Tail
The tail is one of the most iconic features of an otter. To create the tail, you’ll need a long piece of felt fabric. Here’s how to do it:
- Cut out a long, tapered shape from brown felt
- Stuff the tail with cotton or batting for a 3D effect
- Sew or glue the edges together to seal the stuffing inside
- Attach the tail to the back of the hoodie using Velcro or a safety pin
Make sure the tail is long enough to be noticeable but not so long that it gets in the way. You can also add some white or gray felt stripes to the tail for extra detail.
Adding Movement to the Tail
If you want to take things a step further, you can add some movement to the tail. For example, you could attach it with a flexible wire or elastic band so it can move naturally as the wearer walks.
Step 5: Final Touches
Now that all the main components are done, it’s time to add some final touches. Here are a few ideas:
- Add white felt patches to the chest area for a realistic otter look
- Use fabric paint to add stripes or patterns to the hoodie
- Attach small bells or jingle bells to the paws for a playful sound
These small details can make a big difference in how your costume turns out. Don’t be afraid to experiment and add your own personal flair.
Testing the Costume
Before you call it a day, make sure to test the costume. Have the person try it on and walk around to see how it feels. Adjust any parts that are uncomfortable or don’t fit properly. Remember, the goal is to create something that’s both fun and functional.
Costume Variations for Different Ages
One of the great things about this DIY otter costume is that it can be easily adapted for different ages. Here are a few ideas:
For Toddlers
- Use softer materials for comfort
- Add Velcro strips for easy on and off
- Keep the design simple and playful
For Kids
- Include more details like whiskers and webbed feet
- Make the tail longer for a more realistic look
- Use brighter colors to make it pop
For Teens and Adults
- Opt for more durable materials
- Add intricate details like fur texture or patterns
- Make the costume more sophisticated with tailored cuts
Tips for a Successful DIY Project
Creating a DIY otter costume might seem intimidating at first, but with the right mindset, it’s totally doable. Here are a few tips to help you succeed:
- Plan ahead and gather all your materials before you start
- Take breaks if you feel overwhelmed
- Ask for help if you need it—family and friends can be great assistants
- Don’t be afraid to make mistakes; they’re part of the process
Remember, the goal is to have fun and create something unique. Whether your costume turns out perfect or a little quirky, it’s all about the effort and creativity you put into it.
Conclusion
And there you have it—a step-by-step guide to creating a DIY otter costume for all ages. From designing the face to adding the final touches, this project is both fun and rewarding. Not only will you end up with a cute and unique costume, but you’ll also have a great bonding experience with your family or friends.
So, what are you waiting for? Grab your materials and get crafting. And don’t forget to share your masterpiece with the world. Whether it’s on social media or at your next event, your otter costume is sure to be a hit. Happy crafting!
Table of Contents
- Why Choose an Otter Costume?
- Materials You’ll Need for Your DIY Otter Costume
- Step 1: Design the Otter Face
- Step 2: Create the Otter Ears
- Step 3: Add the Otter Paws
- Step 4: Create the Otter Tail
- Step 5: Final Touches
- Costume Variations for Different Ages
- Tips for a Successful DIY Project
- Conclusion
- Long Haircuts For Women Over 60 Embrace Your Style With Confidence
- 50 Hairstyles For Women Thatll Turn Heads And Boost Your Confidence

How To Create A DIY Otter Costume StepbyStep Guide For All Ages
Otter Kid's Costume
Otter Adult Costume
