DIY Referee Shirt: A Comprehensive Guide To Crafting Your Own Uniform
Ever thought about making your own referee shirt? Yeah, we get it—store-bought uniforms can be pricey, and they don’t always fit right. But what if you could create a custom referee shirt that suits your style and budget? Stick around, because we’re about to dive deep into the world of DIY referee shirts, giving you all the tips, tricks, and tools you need to craft your own uniform like a pro.
Now, let’s be real for a second. Being a referee isn’t just about blowing that whistle or running up and down the field. It’s also about looking sharp, feeling confident, and owning that whistle-blowing vibe. And nothing says “I mean business” like a perfectly tailored referee shirt. But why stop at buying one when you can make it yourself? DIY referee shirts give you the freedom to customize every detail, from the fabric to the design.
Whether you’re a weekend warrior, a local league referee, or just someone who loves crafting, this guide is for you. We’ll walk you through everything you need to know, from picking the right materials to stitching like a champ. So grab your scissors, thread, and sewing machine—it’s time to get creative!
- Watch Movierulz Rx 100 Full Movie The Ultimate Guide For Film Buffs
- 2025 Hairstyles For Women Over 60 Embrace Your Style With Confidence
Let’s jump right in with a quick overview of what we’ll cover:
- Choosing the Right Materials
- Designing Your Referee Shirt
- Gathering the Necessary Tools
- Creating a Custom Pattern
- Sewing Like a Pro
- Adding Personal Touches
- Pro Tips for Beginners
- Estimating Costs
- Maintaining Your DIY Referee Shirt
- Frequently Asked Questions
Choosing the Right Materials
Alright, let’s talk materials. When it comes to DIY referee shirts, the fabric you choose can make or break the final product. You want something that’s breathable, durable, and easy to work with. After all, you’re going to be running around in this thing, so comfort is key.
Here’s a quick breakdown of the best fabrics for referee shirts:
- Mohawk Haircut For Women A Bold And Empowering Style
- Unleash Your Inner Style Goddess With Alternative Hairstyles For Women
- Moisture-Wicking Polyester: This is a game-changer for anyone who sweats a lot on the field. Polyester is lightweight, quick-drying, and super durable.
- Cotton Blend: If you prefer a more natural feel, cotton blends are a great option. They’re breathable and soft against the skin, but be mindful that they might not hold up as well as polyester in the long run.
- Nylon: Nylon is another great choice for its durability and resistance to wear and tear. It’s also lightweight, which makes it perfect for active use.
Pro tip: Always check the fabric content before you buy. Look for fabrics that are at least 80% polyester or nylon for the best performance. And don’t forget to pre-wash your fabric to prevent shrinkage later on!
Where to Buy Your Fabric
Now that you know what to look for, where do you find these magical fabrics? Here are some of our favorite places to shop:
- Fabric Stores: Check out local fabric stores or online retailers like Joann Fabrics or Fabric.com. They often have a wide selection of performance fabrics.
- Thrift Stores: Believe it or not, you can score some great deals at thrift stores. Look for old sports jerseys or uniforms that you can repurpose into your DIY referee shirt.
- Online Marketplaces: Etsy and eBay are goldmines for unique fabrics. Just make sure to read the reviews and check the measurements carefully.
Designing Your Referee Shirt
Design is where the magic happens. This is your chance to get creative and make your referee shirt stand out. Whether you want a classic look or something a little more bold, the design is all about personal preference.
Here are a few things to consider when designing your DIY referee shirt:
- Color Scheme: Stick to traditional referee colors like black, white, and navy, or go wild with bright stripes and patterns. It’s your call!
- Fit: Do you prefer a loose fit or something more tailored? Think about how you want the shirt to feel when you’re moving around on the field.
- Features: Consider adding features like reflective strips, pockets, or even a whistle holder. These small details can make a big difference in functionality.
Don’t forget to sketch out your design before you start sewing. This will help you visualize the final product and make any necessary adjustments before you cut into your fabric.
Gathering the Necessary Tools
Alright, let’s talk tools. You don’t need a fully stocked sewing studio to make a DIY referee shirt, but there are a few essentials you’ll want to have on hand:
- Sewing Machine: A basic sewing machine will do the trick, but if you’re serious about DIY projects, consider investing in a machine with more advanced features.
- Scissors: You’ll need a good pair of fabric scissors for cutting your material. Avoid using regular scissors, as they can dull quickly and ruin your fabric.
- Measuring Tape: This is crucial for getting the right fit. Measure yourself carefully to ensure your shirt is tailored to your body.
- Needles and Thread: Match your thread to your fabric color for a seamless look. And don’t forget to have a variety of needle sizes on hand for different fabrics.
Optional tools like an iron, seam ripper, and fabric markers can also come in handy, depending on your project’s complexity.
Creating a Custom Pattern
Now we’re getting into the nitty-gritty. Creating a custom pattern is one of the most important steps in making your DIY referee shirt. A good pattern ensures that your shirt fits well and looks professional.
Here’s how to create your own pattern:
- Measure Yourself: Take accurate measurements of your chest, waist, hips, and arm length. Don’t forget to add a little extra for comfort and movement.
- Sketch Your Design: Use your measurements to sketch out your pattern on paper. Start with the basic shape of a shirt and add any design elements you want.
- Transfer to Fabric: Once you’re happy with your pattern, transfer it to your fabric using a fabric marker or chalk. Double-check your measurements before cutting.
Pro tip: If you’re new to pattern-making, consider using a pre-made pattern as a starting point. You can modify it to fit your design and measurements.
Adjusting the Pattern
Not every pattern is perfect the first time around. Don’t be afraid to make adjustments as you go. If the fit isn’t quite right, tweak the pattern until it’s just how you want it.
Sewing Like a Pro
Time to put those tools to work! Sewing your DIY referee shirt might seem intimidating at first, but with a little practice, you’ll be stitching like a pro in no time.
Here’s a step-by-step guide to sewing your shirt:
- Cut Your Fabric: Use your pattern to cut out all the pieces of your shirt. Take your time to ensure clean, straight cuts.
- Pin and Sew: Pin the pieces together and sew them using your sewing machine. Start with the seams and work your way up to the collars and cuffs.
- Add Details: Once the main structure of the shirt is complete, add any extra details like buttons, zippers, or embroidery.
- Try It On: Before you finish, try on your shirt to make sure the fit is perfect. Make any necessary adjustments before hemming the edges.
Remember, practice makes perfect. If you’re new to sewing, don’t be discouraged if your first attempt isn’t flawless. Every project is a learning experience!
Adding Personal Touches
What’s a DIY project without a little personal flair? Adding custom touches to your referee shirt can make it truly unique. Here are a few ideas:
- Embroidery: Add your name, team logo, or favorite design using embroidery thread. You can do this by hand or with an embroidery machine.
- Custom Patches: Sew on patches to represent your league, team, or personal achievements.
- Reflective Accents: Add reflective strips or tape to make your shirt more visible at night.
Pro Tips for Beginners
As a beginner, there are a few things you should keep in mind to make your DIY referee shirt project a success:
- Start Simple: Don’t try to tackle a complex design on your first attempt. Stick to a basic pattern and work your way up to more advanced techniques.
- Practice Patience: Sewing takes time and patience. Don’t rush the process—take breaks if you need to and enjoy the journey.
- Learn from Mistakes: Mistakes are part of the learning process. If something doesn’t turn out right, figure out what went wrong and try again.
Remember, the goal is to have fun and create something you’re proud of. So don’t stress too much—just enjoy the process!
Estimating Costs
One of the best things about DIY projects is that they can save you money. But how much will your referee shirt actually cost? Here’s a rough breakdown:
- Fabric: $10-$30, depending on the type and quality.
- Tools: If you already have a sewing machine and basic tools, this cost will be minimal. Otherwise, expect to spend around $50-$100 on tools.
- Customizations: Embroidery, patches, and other custom touches can add to the cost, but they’re worth it for a truly unique shirt.
Overall, you can create a DIY referee shirt for anywhere from $20 to $100, depending on your choices. Compare that to store-bought uniforms, which can easily cost $50 or more, and you’re saving big time!
Maintaining Your DIY Referee Shirt
Once you’ve put in all that hard work, you’ll want to keep your DIY referee shirt in top condition. Here’s how to maintain it:
- Wash Carefully: Follow the care instructions for your fabric to avoid shrinking or damaging your shirt.
- Store Properly: Hang your shirt in a cool, dry place to prevent wrinkles and mildew.
- Repair as Needed: If a button comes off or a seam splits, don’t hesitate to repair it. Keeping your shirt in good condition will extend its lifespan.
A well-maintained DIY referee shirt can last for years, making it a worthwhile investment.
Frequently Asked Questions
Got questions? We’ve got answers. Here are some of the most common questions about DIY referee shirts:
- Can I make a referee shirt without a sewing machine? Absolutely! You can hand-sew your shirt, though it will take longer. Just be sure to use strong thread and a sharp needle.
- What if I mess up my pattern? No worries! You can always adjust your pattern or start over. Mistakes are part of the learning process.
- How long does it take to make a DIY referee shirt? Depending on your skill level and the complexity of your design, it can take anywhere from a few hours to a couple of days.
Still have questions? Leave a comment below, and we’ll do our best to help!
Conclusion
So there you have it—your comprehensive guide to crafting your own DIY referee
- Low Maintenance Short Over The Ear Haircuts The Ultimate Guide To Stylish And Effortless Looks
- Hair Cuts For Over 50 Stylish Choices That Embrace Your Age And Attitude

DIY Referee Shirt A Comprehensive Guide To Crafting Your Own Uniform
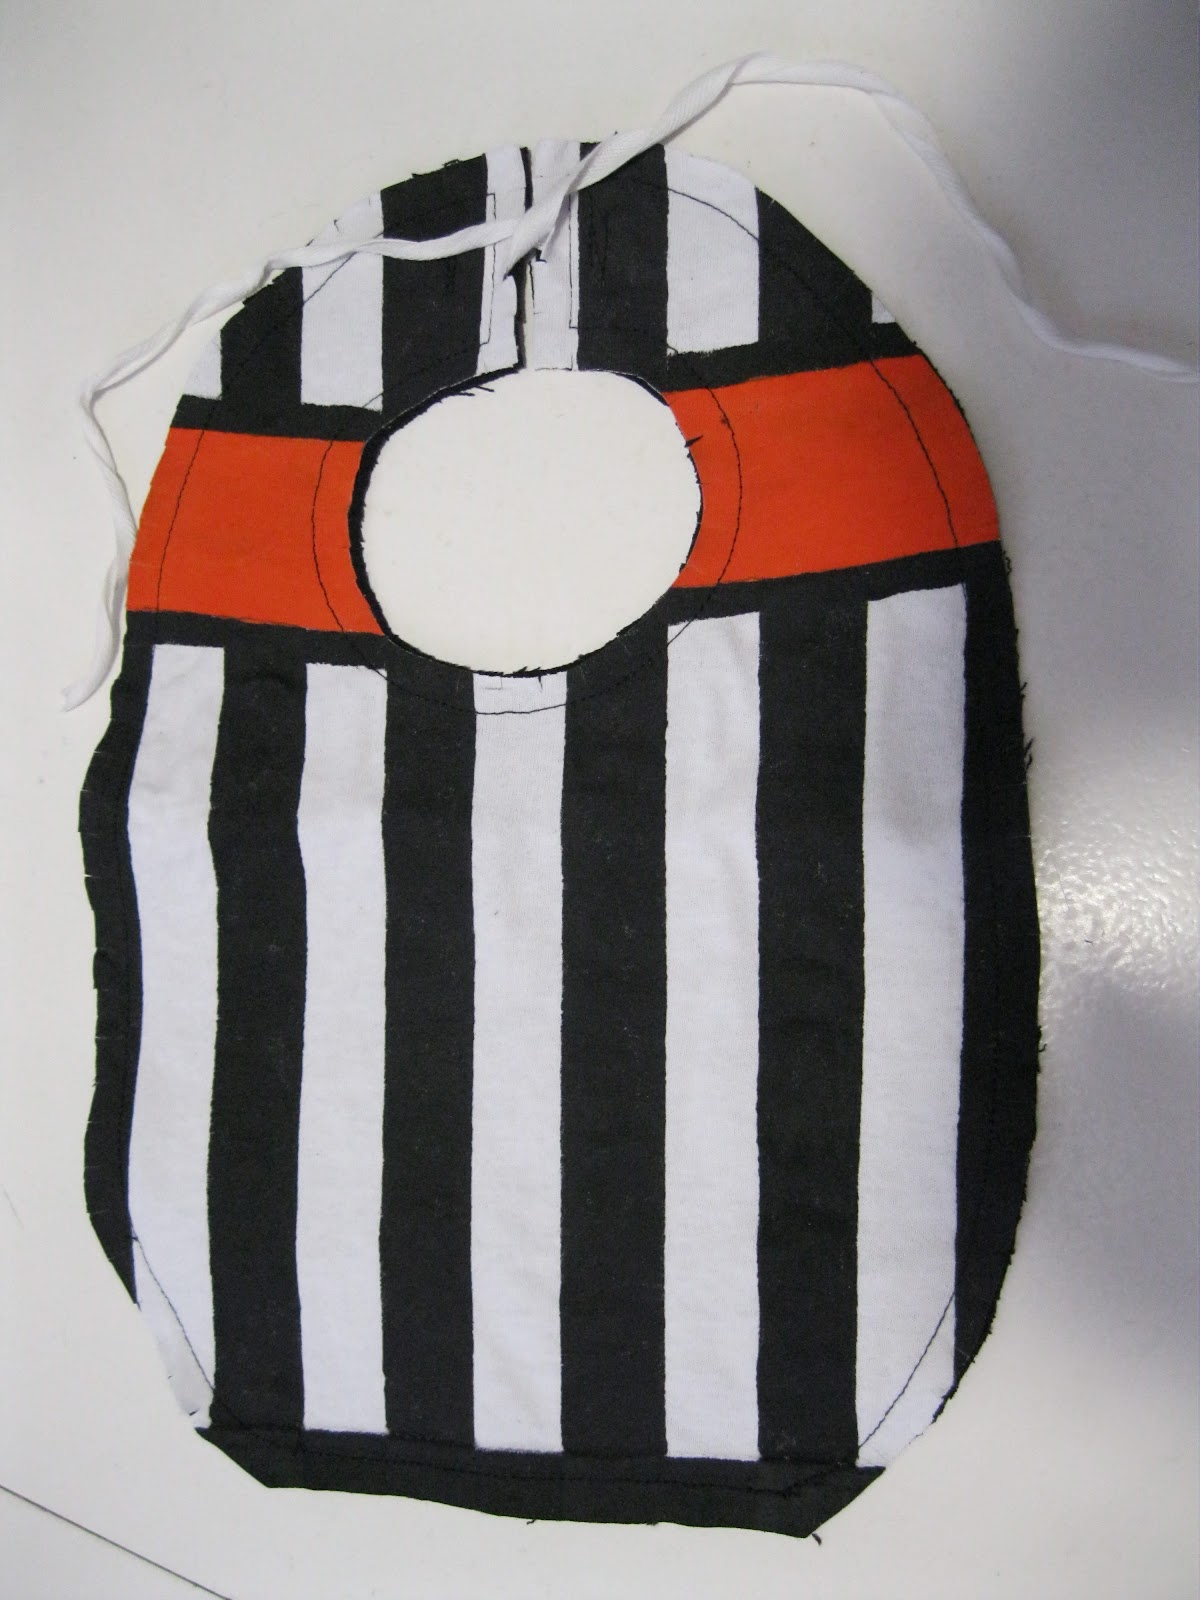
Stick This DIY Referee Bib

√ Referee Costume Diy
