How To SSH To Raspberry Pi Behind Firewall On Windows 10 Free – The Ultimate Guide
Ever wondered how you can SSH into your Raspberry Pi when it’s tucked away behind a firewall? Well, buckle up because we’re diving deep into this tech adventure. SSH to Raspberry Pi behind firewall Windows 10 free is not just a geeky dream—it’s totally doable with the right steps. Whether you’re a beginner or a seasoned tech enthusiast, this guide will walk you through every step like a pro. So, let’s get started!
Picture this: you’ve got your Raspberry Pi set up, but it’s sitting snug behind a firewall. You need remote access, but the firewall’s got its claws dug in tight. Don’t panic! SSH to Raspberry Pi behind firewall on Windows 10 free is easier than you think. We’ll break it down into bite-sized chunks, so you won’t feel overwhelmed.
This isn’t just another tech tutorial. We’re going to explore the ins and outs of SSH connections, firewalls, and how to navigate them like a ninja. By the end of this guide, you’ll have the skills to SSH into your Pi from anywhere, bypassing those pesky firewalls without spending a dime. Sounds good? Let’s dive in!
- Hair Styles For Senior Women Embrace Your Inner Glow And Confidence
- Hair Designs For Females Unleash Your Inner Style Icon
Table of Contents
The Basics of SSH and Raspberry Pi
Understanding Firewalls and Their Impact
- Over 60 Medium Length Hairstyles Timeless Elegance For Every Woman
- Long Haircuts For Women Over 60 Embrace Your Style With Confidence
Setting Up SSH on Raspberry Pi
Security Tips for SSH Connections
Introduction: Why SSH Matters
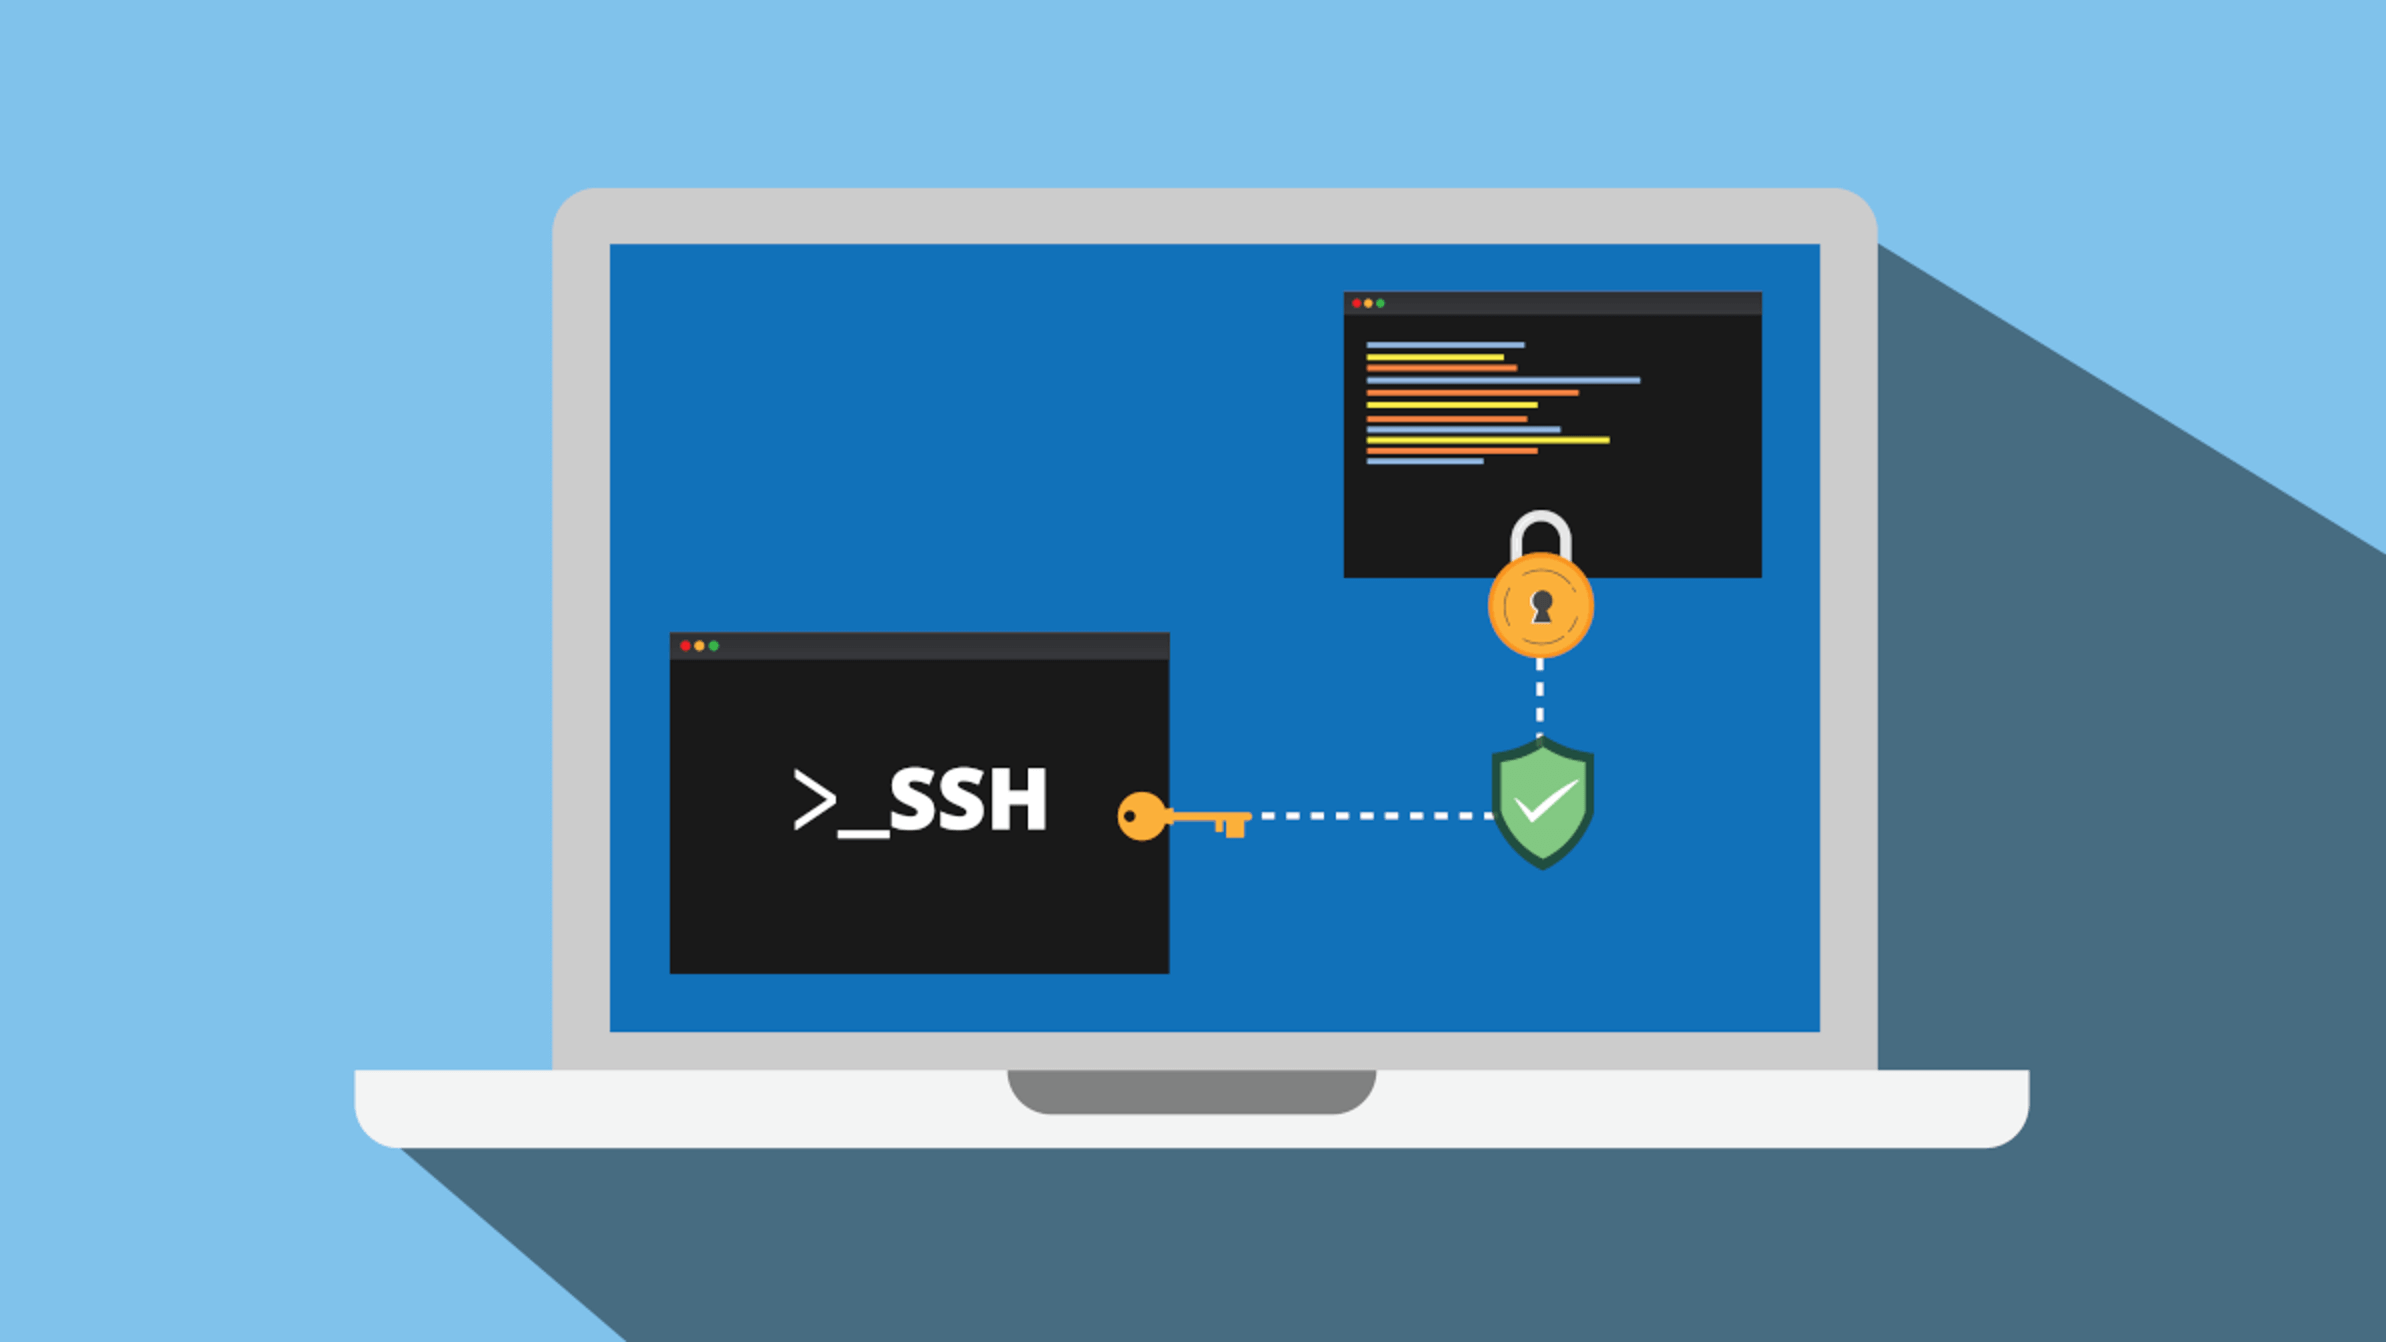
SSH, or Secure Shell, is like a secret tunnel that lets you control your Raspberry Pi from afar. It’s not just about convenience—it’s about security too. When you SSH to Raspberry Pi behind firewall Windows 10 free, you’re ensuring that your data stays safe while giving yourself the flexibility to manage your device remotely.
Imagine being able to tweak your Pi’s settings from your cozy office chair, even if it’s physically located miles away. SSH makes this possible by creating a secure connection between your computer and your Pi. But what happens when a firewall gets in the way? That’s where this guide comes in.
The Basics of SSH and Raspberry Pi
What is SSH Anyway?
SSH is more than just a fancy acronym—it’s your ticket to remote access. It allows you to send commands to your Raspberry Pi as if you were sitting right in front of it. The best part? It’s encrypted, so prying eyes can’t sneak a peek at what you’re doing.
Why Raspberry Pi?
Raspberry Pi is the ultimate tiny powerhouse for makers, coders, and hobbyists alike. Its versatility makes it perfect for everything from home automation to media servers. And with SSH, you can unlock its full potential without being tied to its physical location.
Understanding Firewalls and Their Impact
Firewalls are like bouncers at a club—they decide who gets in and who doesn’t. While they’re great for keeping unwanted visitors out, they can also block legitimate connections like SSH. But fear not! With a few tweaks, you can configure your firewall to let SSH traffic through without compromising security.
Setting Up SSH on Raspberry Pi
Before you can SSH into your Pi, you’ll need to enable SSH on the device itself. Here’s how:
- Boot up your Raspberry Pi and log in.
- Open the terminal and type
sudo raspi-config. - Scroll down to
Interfacing Optionsand hit Enter. - Select
SSHand chooseYesto enable it. - Reboot your Pi with
sudo reboot.
And just like that, your Pi is ready for SSH connections!
Connecting from Windows 10
Connecting to your Raspberry Pi from Windows 10 is a breeze, especially if you’ve got the right tools. Start by installing an SSH client like PuTTY or use the built-in Windows Terminal. Once installed, follow these steps:
- Open your SSH client and enter your Pi’s IP address.
- Use the default username
piand your chosen password. - Hit connect and voilà—you’re in!
But what if you’re behind a firewall? That’s where things get interesting…
Port Forwarding Explained
Port forwarding is like giving your Pi a VIP pass through the firewall. By forwarding a specific port (usually 22 for SSH) to your Pi’s local IP address, you create a direct route for SSH traffic. Here’s how to set it up:
- Log in to your router’s admin interface.
- Find the port forwarding section and add a new rule.
- Set the external and internal ports to 22 (or another port if 22 is blocked).
- Enter your Pi’s local IP address as the destination.
- Save the settings and test the connection.
With port forwarding in place, SSH to Raspberry Pi behind firewall Windows 10 free becomes a reality.
Tools You’ll Need for Success
Essential Tools for SSH Connections
Having the right tools can make all the difference. Here are a few must-haves:
- PuTTY: A classic SSH client for Windows.
- Windows Terminal: Built-in and super handy.
- ngrok: A nifty tool for tunneling SSH connections.
- Dynamic DNS: Keeps your Pi’s IP address updated if it changes.
These tools will help you bypass firewalls and establish secure connections with ease.
Troubleshooting Common Issues
Even the best-laid plans can hit a snag. Here are some common issues and how to fix them:
- Connection Refused: Double-check your port forwarding settings.
- Wrong Credentials: Make sure you’re using the correct username and password.
- Firewall Blocks: Temporarily disable the firewall to test the connection.
- IP Address Issues: Ensure your Pi’s IP is static or use Dynamic DNS.
Armed with this knowledge, you’ll be troubleshooting like a pro in no time.
Security Tips for SSH Connections
Security should always be at the forefront of your mind when dealing with SSH. Here are a few tips to keep your connections safe:
- Change the default SSH port to something less obvious.
- Use strong, unique passwords or even better—SSH keys.
- Limit access to specific IP addresses if possible.
- Regularly update your Raspberry Pi’s software.
By following these best practices, you’ll keep your Pi and your data secure.
Alternatives to SSH
While SSH is the go-to method for remote access, there are alternatives worth exploring:
- VNC: Allows graphical remote access instead of just terminal commands.
- TeamViewer: A user-friendly option for cross-platform connections.
- Web-based SSH: Tools like WebSSH let you connect via a browser.
Each alternative has its pros and cons, so choose the one that best fits your needs.
Conclusion: Your Next Steps
SSH to Raspberry Pi behind firewall Windows 10 free might sound daunting at first, but with this guide, you’ve got all the tools and knowledge you need to succeed. From setting up SSH on your Pi to configuring port forwarding and troubleshooting issues, you’re now equipped to take control of your device from anywhere.
So, what’s next? Take action! Try out the steps we’ve covered and see how far you can go. Don’t forget to leave a comment below sharing your experience or asking questions. And if you found this guide helpful, spread the word by sharing it with your fellow tech enthusiasts. Happy SSH-ing!
- Short Hair For 50yearolds The Ultimate Guide To Finding Your Perfect Style
- 10 Trendy Sexy Medium Hairstyles Thatll Turn Heads In 2024

SSH Remote control your Raspberry Pi — Raspberry Pi Official Magazine
How To SSH Into A Raspberry Pi Behind A Firewall Using Port Forwarding
How To SSH Into A Raspberry Pi Behind A Firewall Using Port Forwarding
