Raspberry Pi RemoteIoT Tutorial: Your Ultimate Guide To Building Smart Solutions
Imagine this—you’re sitting in your cozy living room, sipping coffee, while your garden irrigation system automatically adjusts water flow based on weather data from the cloud. Or maybe you’re monitoring your home security cameras remotely through your phone. Sounds futuristic, right? Well, with Raspberry Pi and RemoteIoT, this isn’t science fiction anymore. It’s reality! If you’ve ever wondered how to harness the power of IoT using Raspberry Pi, you’ve come to the right place. This Raspberry Pi RemoteIoT tutorial is designed to walk you through every step of creating smart, connected projects that can revolutionize the way you live and work.
Let’s face it—IoT (Internet of Things) has become an integral part of modern technology. From smart homes to industrial automation, the possibilities are endless. But where do you even begin? That’s where Raspberry Pi comes in. This tiny yet powerful device is the perfect platform for experimenting with IoT applications. Whether you’re a beginner or an advanced maker, this Raspberry Pi RemoteIoT tutorial will equip you with the knowledge and tools to build impressive projects.
In this guide, we’ll cover everything from setting up your Raspberry Pi for RemoteIoT to integrating it with cloud services, sensors, and actuators. We’ll dive deep into practical examples, troubleshooting tips, and best practices to ensure your IoT projects are not only functional but also scalable. So grab your Raspberry Pi, put on your tinkering hat, and let’s get started!
- Women Haircuts The Ultimate Guide To Finding Your Perfect Look
- Older Ladies Haircuts The Ultimate Guide To Finding Your Perfect Style
Table of Contents
- Long Haircuts For Women Over 60 Embrace Your Style With Confidence
- Before And After Hairstyles For Women A Transformation Journey You Wonrsquot Believe
Working with Sensors and Actuators
Building Your First RemoteIoT Project
Future Trends and Advancements
Introduction to Raspberry Pi
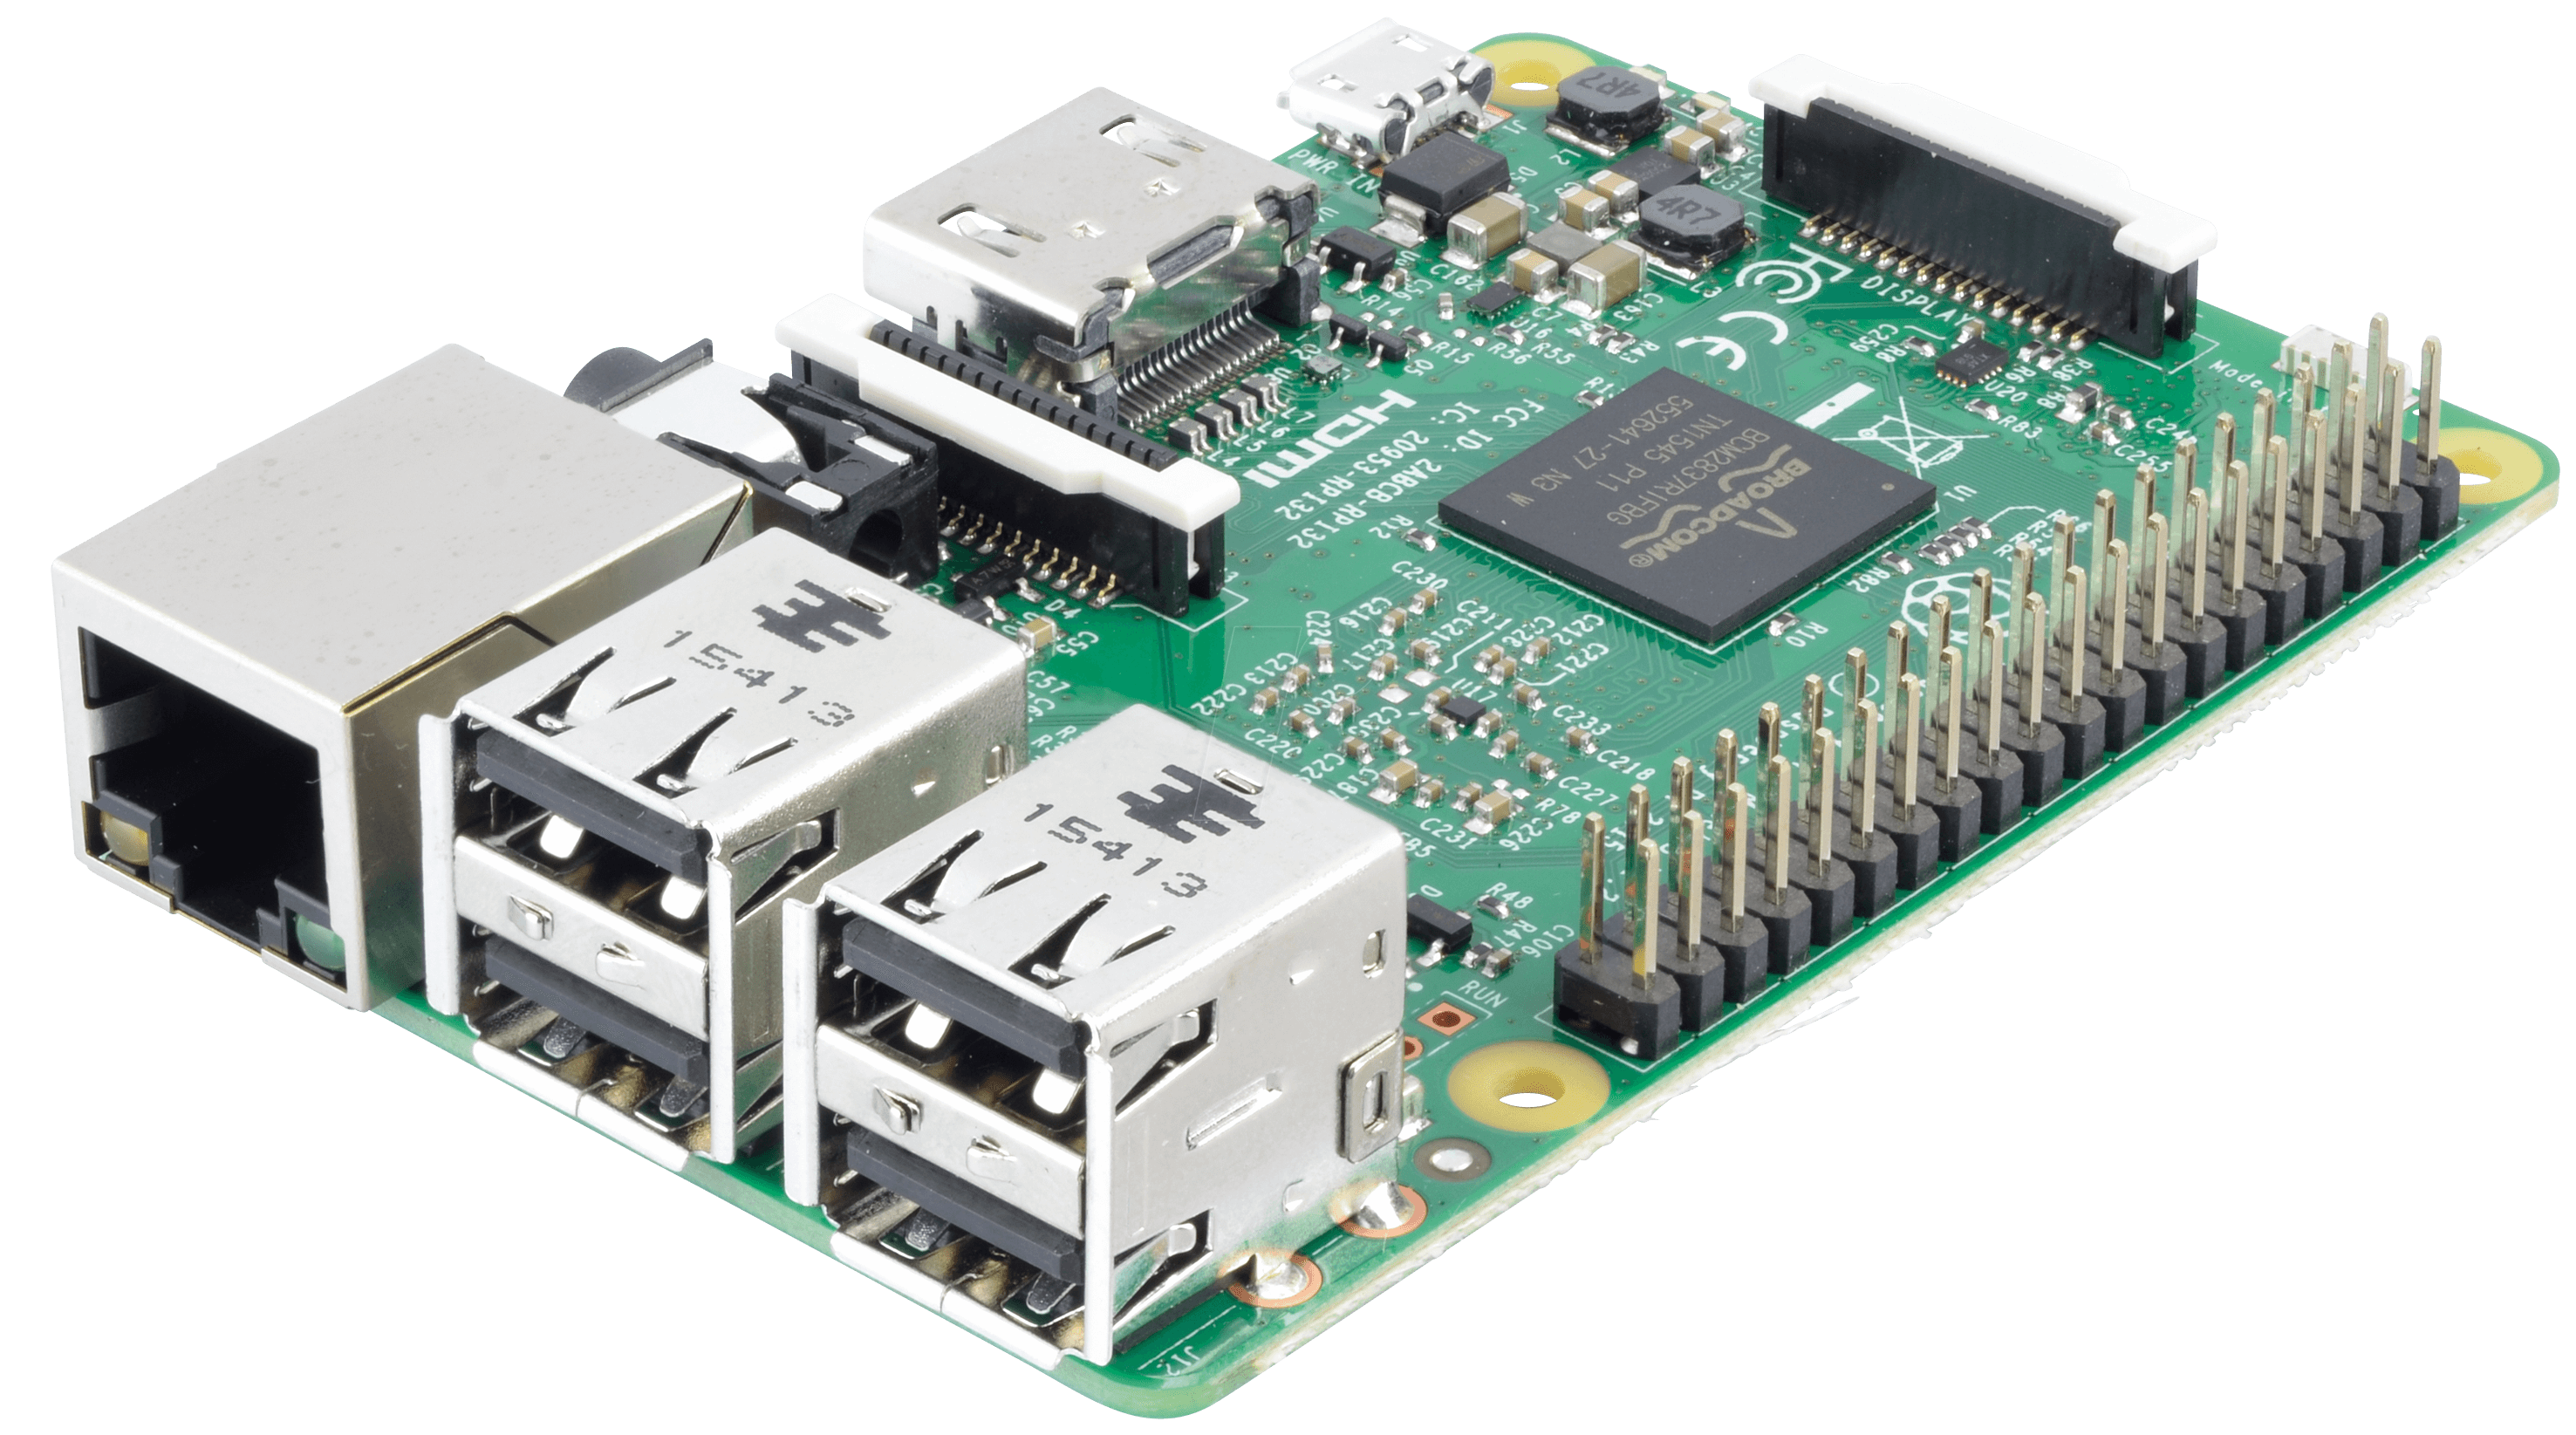
Raspberry Pi is more than just a tiny computer—it’s a game-changer for makers, hobbyists, and professionals alike. This credit-card-sized device packs a punch with its versatile capabilities and affordability. Originally designed as an educational tool, Raspberry Pi has evolved into a platform for innovation, powering everything from home automation systems to weather stations and even robotics.
Here’s why Raspberry Pi is perfect for RemoteIoT projects:
- Compact Size: Its small footprint makes it ideal for embedding in various devices.
- Low Cost: Affordable enough for hobbyists but robust enough for professional use.
- Community Support: A vast community of enthusiasts provides endless resources and inspiration.
- Compatibility: Works seamlessly with a wide range of sensors, actuators, and peripherals.
Whether you’re building a smart thermostat or a remote-controlled drone, Raspberry Pi offers the flexibility and power needed to bring your ideas to life.
Raspberry Pi RemoteIoT Basics
Before we dive into the nitty-gritty of Raspberry Pi RemoteIoT, let’s break down what RemoteIoT actually means. Simply put, RemoteIoT refers to the ability to control and monitor IoT devices remotely over the internet. This could involve anything from adjusting the temperature of a smart thermostat to receiving real-time updates from a security camera.
Key Components of RemoteIoT
When working with Raspberry Pi for RemoteIoT, there are a few key components you need to understand:
- Sensors: Devices that collect data about the environment, such as temperature, humidity, or motion.
- Actuators: Devices that perform actions based on input, like turning on a light or opening a valve.
- Connectivity: The ability to connect your Raspberry Pi to the internet, either via Wi-Fi or Ethernet.
- Cloud Services: Platforms like AWS IoT, Google Cloud IoT, or Azure IoT Hub that allow you to store and analyze data.
By combining these elements, you can create powerful IoT solutions that are both intelligent and responsive.
Setting Up Your Raspberry Pi
Setting up your Raspberry Pi is the first step toward building your RemoteIoT project. Don’t worry—it’s easier than it sounds. Here’s a step-by-step guide to help you get started:
What You’ll Need
- Raspberry Pi (any model will do, but newer models offer better performance).
- A microSD card (at least 16GB).
- A power supply (make sure it matches your Raspberry Pi model).
- A keyboard, mouse, and monitor (optional if you plan to use SSH).
Step 1: Install the Operating System
Download the latest version of Raspberry Pi OS from the official website. Use a tool like Etcher to flash the OS onto your microSD card. Once done, insert the card into your Raspberry Pi and power it on.
Step 2: Configure Wi-Fi and SSH
To enable remote access, you’ll need to configure Wi-Fi and SSH. You can do this by editing the `wpa_supplicant.conf` file and creating an empty file named `ssh` in the boot partition of your microSD card.
Connecting to the Internet
Having a stable internet connection is crucial for RemoteIoT projects. Here’s how you can ensure your Raspberry Pi stays connected:
Wi-Fi vs. Ethernet
While Wi-Fi offers convenience, Ethernet provides a more reliable connection. If your project requires real-time data processing, consider using Ethernet for better performance.
Troubleshooting Connection Issues
Can’t connect to the internet? Here are a few tips to help you troubleshoot:
- Check your Wi-Fi credentials and ensure they’re correct.
- Verify that your router is functioning properly.
- Try restarting your Raspberry Pi and router.
Working with Sensors and Actuators
Sensors and actuators are the building blocks of any IoT project. Here’s how you can integrate them with your Raspberry Pi:
Popular Sensors for Raspberry Pi
- DHT11/DHT22: Temperature and humidity sensors.
- HC-SR04: Ultrasonic distance sensor.
- BMP180: Barometric pressure sensor.
Controlling Actuators
Actuators like relays, motors, and servos can be controlled using GPIO pins on your Raspberry Pi. Just remember to use proper drivers and protection circuits to avoid damaging your device.
Cloud Integration
Cloud services are the backbone of RemoteIoT projects. They allow you to store, process, and analyze data in real time. Here are some popular options:
AWS IoT
AWS IoT offers scalable solutions for managing IoT devices. With features like device shadowing and MQTT support, it’s a great choice for enterprise-level projects.
Google Cloud IoT
Google Cloud IoT provides powerful analytics tools and integrates seamlessly with other Google services. Perfect for projects that require machine learning capabilities.
Azure IoT Hub
Azure IoT Hub is ideal for developers familiar with Microsoft technologies. It offers robust security features and supports a wide range of protocols.
Building Your First RemoteIoT Project
Now that you’ve learned the basics, it’s time to build your first RemoteIoT project. Let’s create a simple smart thermostat using Raspberry Pi and a DHT22 sensor:
Step 1: Gather Your Materials
- Raspberry Pi.
- DHT22 sensor.
- Breadboard and jumper wires.
Step 2: Write the Code
Use Python to write a script that reads temperature data from the DHT22 sensor and sends it to a cloud service. You can use libraries like Adafruit_DHT to simplify the process.
Step 3: Test and Deploy
Test your setup locally before deploying it to the cloud. Once everything works as expected, integrate it with your chosen cloud service and start monitoring your data remotely.
Troubleshooting Common Issues
Even the best-laid plans can hit a snag. Here are some common issues you might encounter and how to fix them:
Issue 1: Sensor Not Reading Data
Double-check your wiring and ensure the sensor is properly connected. Also, verify that the library you’re using supports your specific sensor model.
Issue 2: Internet Connectivity Problems
Ensure your Wi-Fi credentials are correct and restart your router if necessary. Consider switching to Ethernet for a more stable connection.
Best Practices for RemoteIoT
To ensure your RemoteIoT projects run smoothly, follow these best practices:
- Use Version Control: Keep your code organized and track changes using Git.
- Secure Your Devices: Implement strong passwords and enable two-factor authentication.
- Monitor Performance: Regularly check your system logs for errors or warnings.
Future Trends and Advancements
The world of IoT is evolving rapidly, and Raspberry Pi continues to be at the forefront of innovation. Here are some exciting trends to watch out for:
- Edge Computing: Processing data closer to the source reduces latency and improves performance.
- AI Integration: Combining IoT with artificial intelligence opens up new possibilities for predictive analytics and automation.
- 5G Connectivity: Faster and more reliable networks will enable more advanced IoT applications.
As technology advances, the potential for Raspberry Pi RemoteIoT projects grows exponentially. The future is bright, and the only limit is your imagination!
Conclusion
We’ve covered a lot of ground in this Raspberry Pi RemoteIoT tutorial, from setting up your device to building your first project and exploring future trends. By now, you should have a solid understanding of how to leverage Raspberry Pi for IoT applications. Remember, the key to success lies in experimentation and continuous learning.
So what are you waiting for? Dive in, start tinkering, and see where your creativity takes you. And don’t forget to share your experiences and projects with the community—you never know who you might inspire! Happy building! .
- Side Part Medium Length Hair The Ultimate Guide To Nailing Your Look
- Classy Haircut Elevate Your Style With These Expert Tips

A beginner's guide to programming the Raspberry Pi Pico
The Raspberry Pi Tutorial A Beginner’s Guide from

Raspberry Pi hardware Raspberry Pi Documentation
