How Do I SSH Into Raspberry Pi Outside Network? The Ultimate Guide For Remote Access
So, you've got this cool little Raspberry Pi sitting on your desk, and you're wondering, "How do I SSH into Raspberry Pi outside network?" Well, buckle up, my friend, because we're diving deep into the world of remote access, cybersecurity, and all the juicy tech details you need to get this thing working like a pro. Whether you're a hobbyist, a developer, or just someone who loves tinkering with gadgets, this guide is going to be your best friend. Let's make that Pi of yours accessible from anywhere in the world!
SSH (Secure Shell) is one of the most powerful tools in a tech enthusiast's arsenal. It allows you to remotely control your Raspberry Pi as if you were sitting right in front of it. But what happens when you're not on the same network? How do you bridge that gap and still maintain security? This article will walk you through every step of the process, from setting up your Pi to configuring your router and using third-party tools to make everything work seamlessly.
By the end of this, you'll not only know how to SSH into Raspberry Pi outside network but also understand the best practices to keep your setup secure. Because, hey, the last thing you want is some random hacker taking over your Pi while you're chilling miles away. Let's get started!
- Hairstyles Cuts The Ultimate Guide To Finding Your Perfect Look
- Why Movierulz Pz Telugu Movies Download Is A Risky Bet
Table of Contents:
- Introduction to SSH and Raspberry Pi
- Biography of Raspberry Pi (Tech Specs)
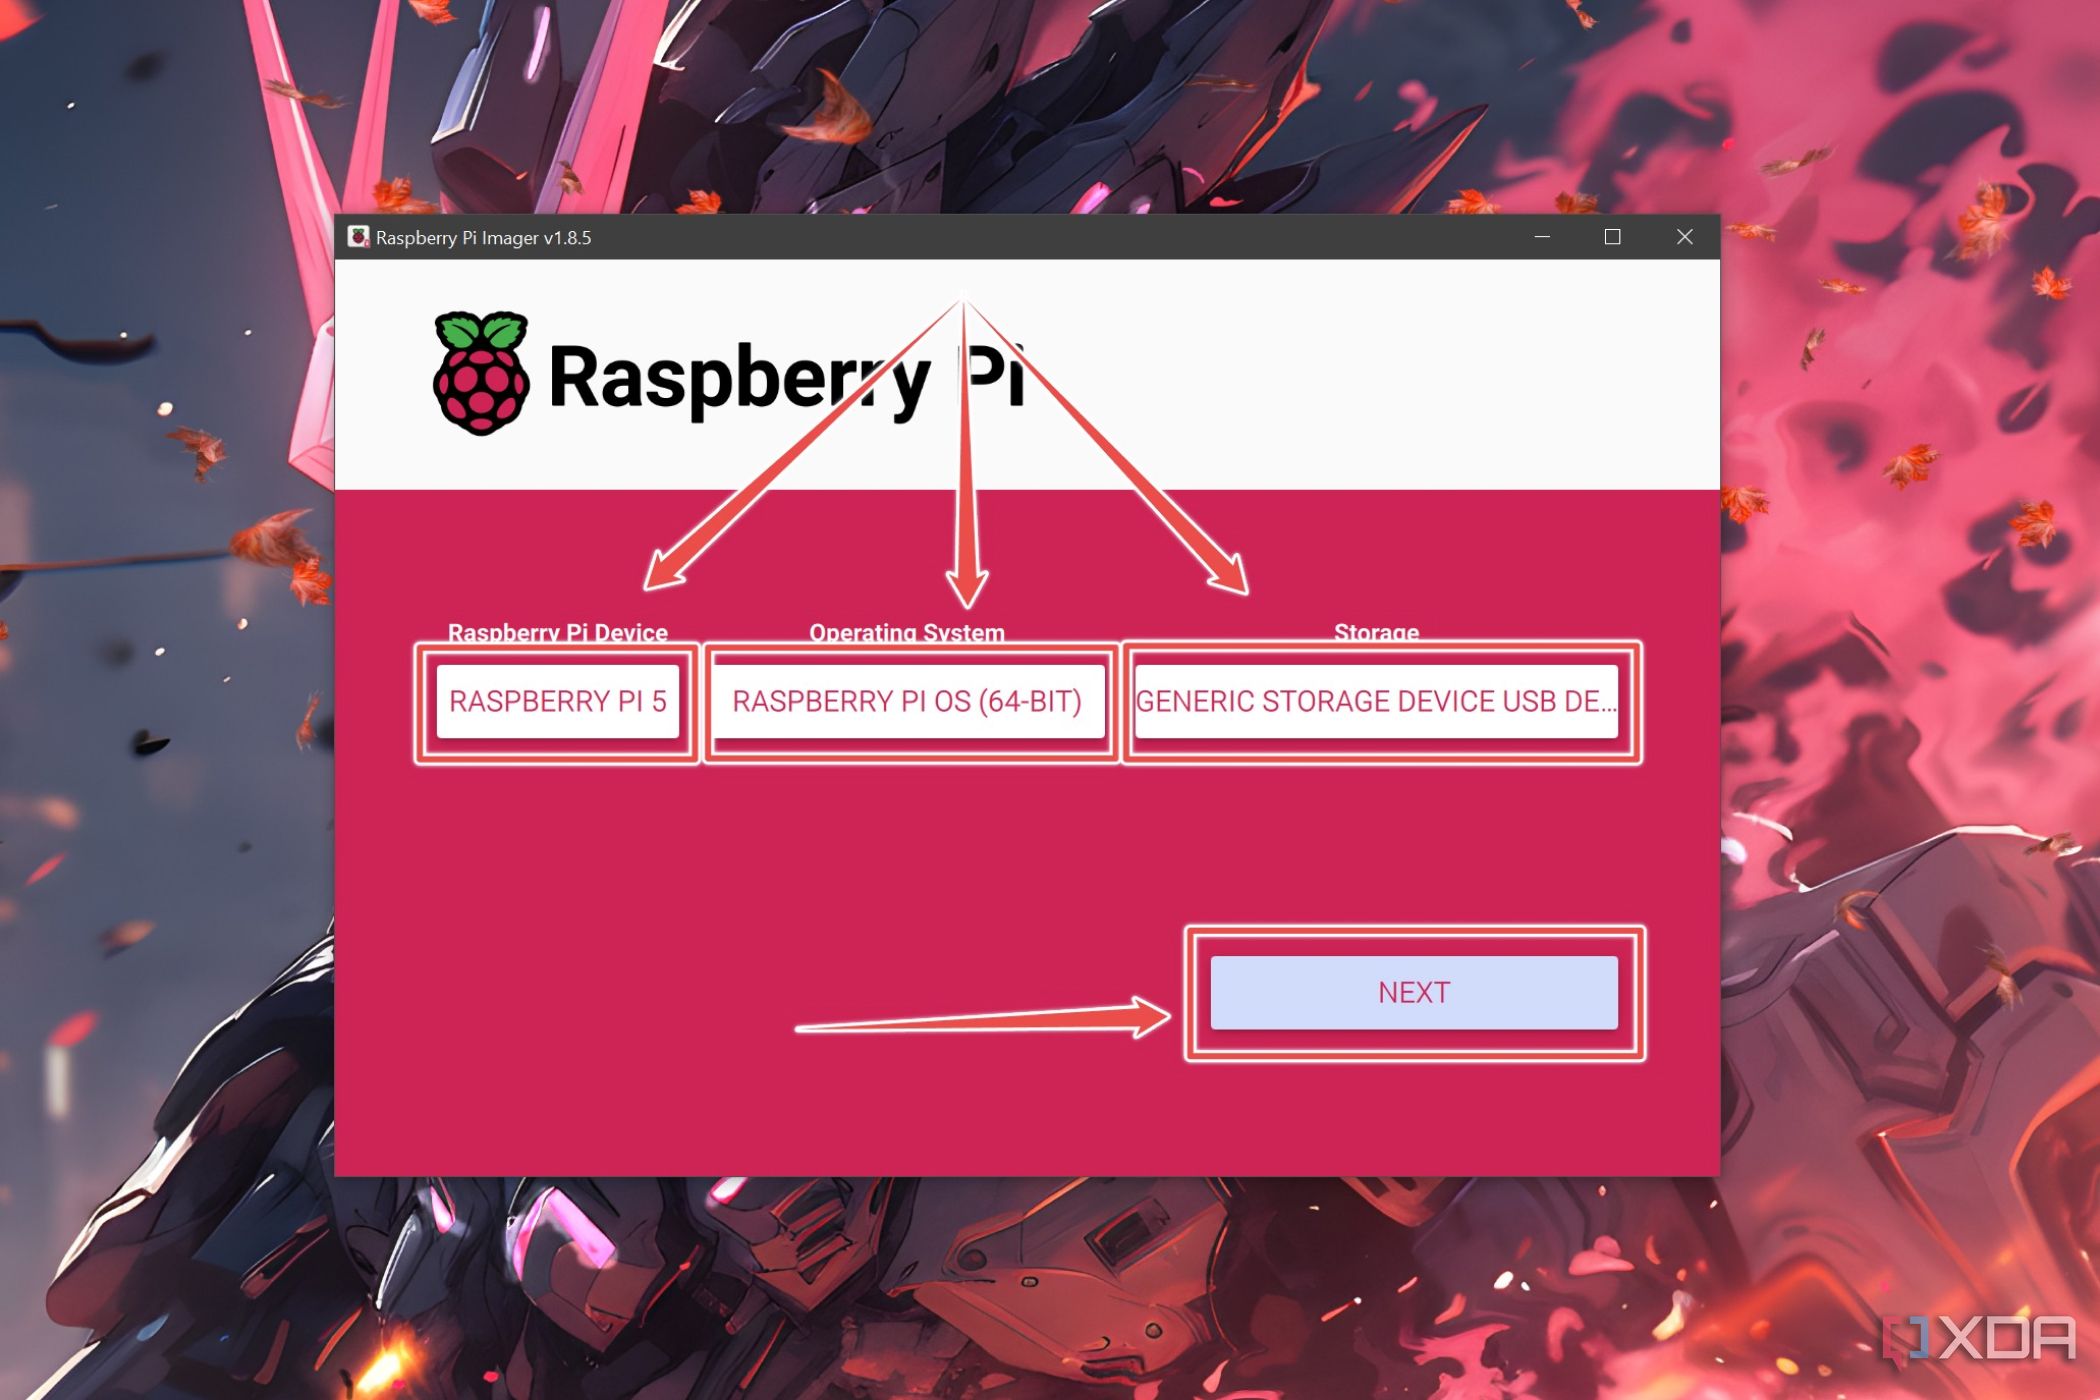
- Setting Up Your Raspberry Pi for SSH
- Understanding Your Network Configuration
- Port Forwarding Basics
- Dynamic DNS for Remote Access
- Third-Party Tools to Simplify SSH
- Securing Your SSH Connection
- Troubleshooting Common Issues
- Wrapping It All Up
Introduction to SSH and Raspberry Pi
Let's start with the basics. What exactly is SSH, and why is it so important for Raspberry Pi users? SSH, or Secure Shell, is a protocol that lets you connect to a remote computer securely. It's like having a secret tunnel between your computer and your Pi, where all your commands and data travel safely without anyone eavesdropping. Now, if you're thinking, "Cool, but why do I need this?" here's the deal: SSH allows you to control your Pi from anywhere, whether you're at home, in the office, or sipping coffee in a café across the globe.
- Jane Fonda Short Hair Styles A Celebration Of Iconic Elegance
- Hairstyles For Females With Glasses Your Ultimate Guide To Rocking Your Look
Why SSH Matters for Raspberry Pi
Raspberry Pi is an incredibly versatile device, but its small size and limited ports mean you can't always have a monitor and keyboard hooked up to it. That's where SSH comes in. By enabling SSH on your Pi, you can access it remotely and perform tasks as if you were sitting right in front of it. Whether you're running a server, automating home systems, or just experimenting with code, SSH gives you the flexibility to manage your Pi from anywhere.
The Challenge of Remote Access
Now, here's the kicker: accessing your Pi over the internet is a bit trickier than doing it on the same network. Your home network is protected by a router, which acts as a gatekeeper, preventing unauthorized access. To SSH into Raspberry Pi outside network, you need to configure your router and possibly use some additional tools. But don't worry—we'll cover all of that in detail.
Biography of Raspberry Pi (Tech Specs)
Before we dive deeper into SSH, let's take a quick look at the star of the show: the Raspberry Pi. Here's a rundown of its key features and specs:
| Feature | Details |
|---|---|
| Processor | ARM Cortex-A72 (1.5GHz) |
| RAM | 4GB LPDDR4-3200 |
| Storage | MicroSD Card |
| Connectivity | Wi-Fi, Bluetooth, Ethernet |
| Operating System | Raspberry Pi OS (Debian-based) |
These specs make the Raspberry Pi a powerhouse for its size, capable of running servers, automating tasks, and even acting as a media center. Now that we know what we're working with, let's move on to setting it up for SSH.
Setting Up Your Raspberry Pi for SSH
Alright, let's get your Pi ready for SSH. The first step is enabling SSH on your device. Here's how you do it:
Enabling SSH on Raspberry Pi
- Boot up your Raspberry Pi with a monitor and keyboard connected.
- Open the terminal and type
sudo raspi-config. - Select "Interfacing Options" and navigate to SSH.
- Choose "Yes" to enable SSH.
- Reboot your Pi to apply the changes.
Checking SSH Status
Once SSH is enabled, you can verify its status by typing sudo service ssh status in the terminal. If everything is set up correctly, you should see a message confirming that SSH is active and running.
Understanding Your Network Configuration
Now that your Pi is SSH-ready, it's time to understand your network setup. Your router plays a crucial role in allowing external access to your Pi. Here's what you need to know:
Static IP Address
Assigning a static IP address to your Pi ensures that its address doesn't change, making it easier to connect remotely. To set a static IP, follow these steps:
- Edit the
/etc/dhcpcd.conffile usingsudo nano /etc/dhcpcd.conf. - Add the following lines at the bottom:
interface eth0static ip_address=192.168.1.100/24static routers=192.168.1.1static domain_name_servers=192.168.1.1
Router Configuration
Your router is the gateway between your Pi and the outside world. Understanding its settings is key to making remote SSH work. We'll cover this in more detail in the next section.
Port Forwarding Basics
Port forwarding is the magic that lets you access your Pi from outside your network. Here's a quick overview:
What Is Port Forwarding?
Port forwarding allows you to direct incoming traffic from the internet to a specific device on your network. In this case, we're forwarding port 22 (the default SSH port) to your Raspberry Pi.
How to Set Up Port Forwarding
Log into your router's admin interface and look for the "Port Forwarding" or "NAT" section. Add a new rule with the following details:
- External Port: 22
- Internal IP: Your Pi's static IP (e.g., 192.168.1.100)
- Protocol: TCP
Save the settings and test the connection by trying to SSH into your Pi from another device on the same network.
Dynamic DNS for Remote Access
Dynamic DNS (DDNS) simplifies remote access by giving your Pi a memorable hostname instead of an IP address. Here's how it works:
Why Use DDNS?
Your home internet connection likely has a dynamic IP address, meaning it changes periodically. DDNS services track these changes and update your hostname automatically, ensuring you can always reach your Pi.
Setting Up DDNS
Choose a DDNS provider like No-IP or DuckDNS and follow their instructions to link your Pi's IP address to a hostname. Most routers also support DDNS, so check if yours has built-in support for this feature.
Third-Party Tools to Simplify SSH
While SSH is powerful, there are tools that can make your life easier. Here are a few worth checking out:
ngrok
ngrok is a simple tool that creates a secure tunnel to your Pi, allowing you to access it without messing with port forwarding or DDNS. Just install it on your Pi and run ./ngrok tcp 22 to get a public URL for SSH.
Tailscale
Tailscale is a more advanced solution that creates a virtual private network (VPN) between your devices. It's great for securing your connections and simplifying remote access.
Securing Your SSH Connection
Security should always be a top priority when setting up remote access. Here are some tips to keep your Pi safe:
Change the Default Port
Move SSH from port 22 to a higher, less commonly used port (e.g., 2222). This reduces the risk of automated attacks.
Use Key-Based Authentication
Disable password-based login and use SSH keys instead. Generate a key pair on your local machine and add the public key to your Pi's ~/.ssh/authorized_keys file.
Enable Firewall Rules
Use tools like ufw to restrict incoming connections to only the necessary ports and IP addresses.
Troubleshooting Common Issues
Even with the best setup, things can go wrong. Here are some common issues and how to fix them:
Can't Connect to Pi
Check your router's port forwarding settings and ensure your Pi's static IP is correct. Also, verify that SSH is enabled and running on your Pi.
Connection Drops
Stability issues might be due to network congestion or poor Wi-Fi signal. Try connecting via Ethernet or optimizing your network settings.
Wrapping It All Up
So, there you have it—everything you need to know about how to SSH into Raspberry Pi outside network. From setting up SSH and configuring your router to securing your connections and troubleshooting issues, this guide covers it all. Remember, the key to successful remote access is a solid understanding of your network and good security practices.
Now it's your turn! Try out these steps, and don't forget to share your experience in the comments below. Whether you're automating your home, running a server, or just exploring the possibilities of your Raspberry Pi, SSH opens up a world of opportunities. Happy tinkering, and stay secure out there!
- Old Style Haircuts A Journey Through Time And Trend
- Medium Length Layered Hairstyles Over 50 Embrace Your Style With Confidence
How to SSH into Raspberry Pi for Remote Access on Windows

How to SSH Into a Raspberry Pi for Remote Access

How to SSH into Raspberry Pi from Different Networks A Guide MaidaTech
