Raspberry Pi IoT Cloud Server Free: Your Ultimate Guide To Building A Smart Future
Have you ever wondered how you can turn your Raspberry Pi into a powerful IoT cloud server without breaking the bank? Well, buckle up, my friend, because we’re about to dive deep into the world of Raspberry Pi IoT cloud server free setups. Whether you're a tech enthusiast, a hobbyist, or just someone curious about how this little device can revolutionize your smart home or business, you’ve come to the right place. This guide will walk you through everything you need to know to get started.
Let’s face it, the world is getting smarter by the day. From smart fridges to automated lighting systems, the Internet of Things (IoT) is no longer a futuristic concept—it’s here, and it’s here to stay. But what if I told you that you don’t need to invest in expensive cloud services to make your IoT dreams a reality? That’s where Raspberry Pi comes in. With its tiny form factor and impressive capabilities, this little gadget can be your gateway to building an IoT cloud server that’s completely free.
Now, before we dive headfirst into the nitty-gritty, let’s talk about why you should care. A Raspberry Pi IoT cloud server gives you complete control over your data, eliminates costly subscription fees, and opens up endless possibilities for customization. Plus, it’s a fantastic learning experience that’ll boost your tech skills. So, are you ready to take your tech game to the next level? Let’s go!
- Edgy Hair The Bold Choice For A Statement Look
- Why Movierulz Pz Telugu Movies Download Is A Risky Bet
What is Raspberry Pi and Why Should You Care?
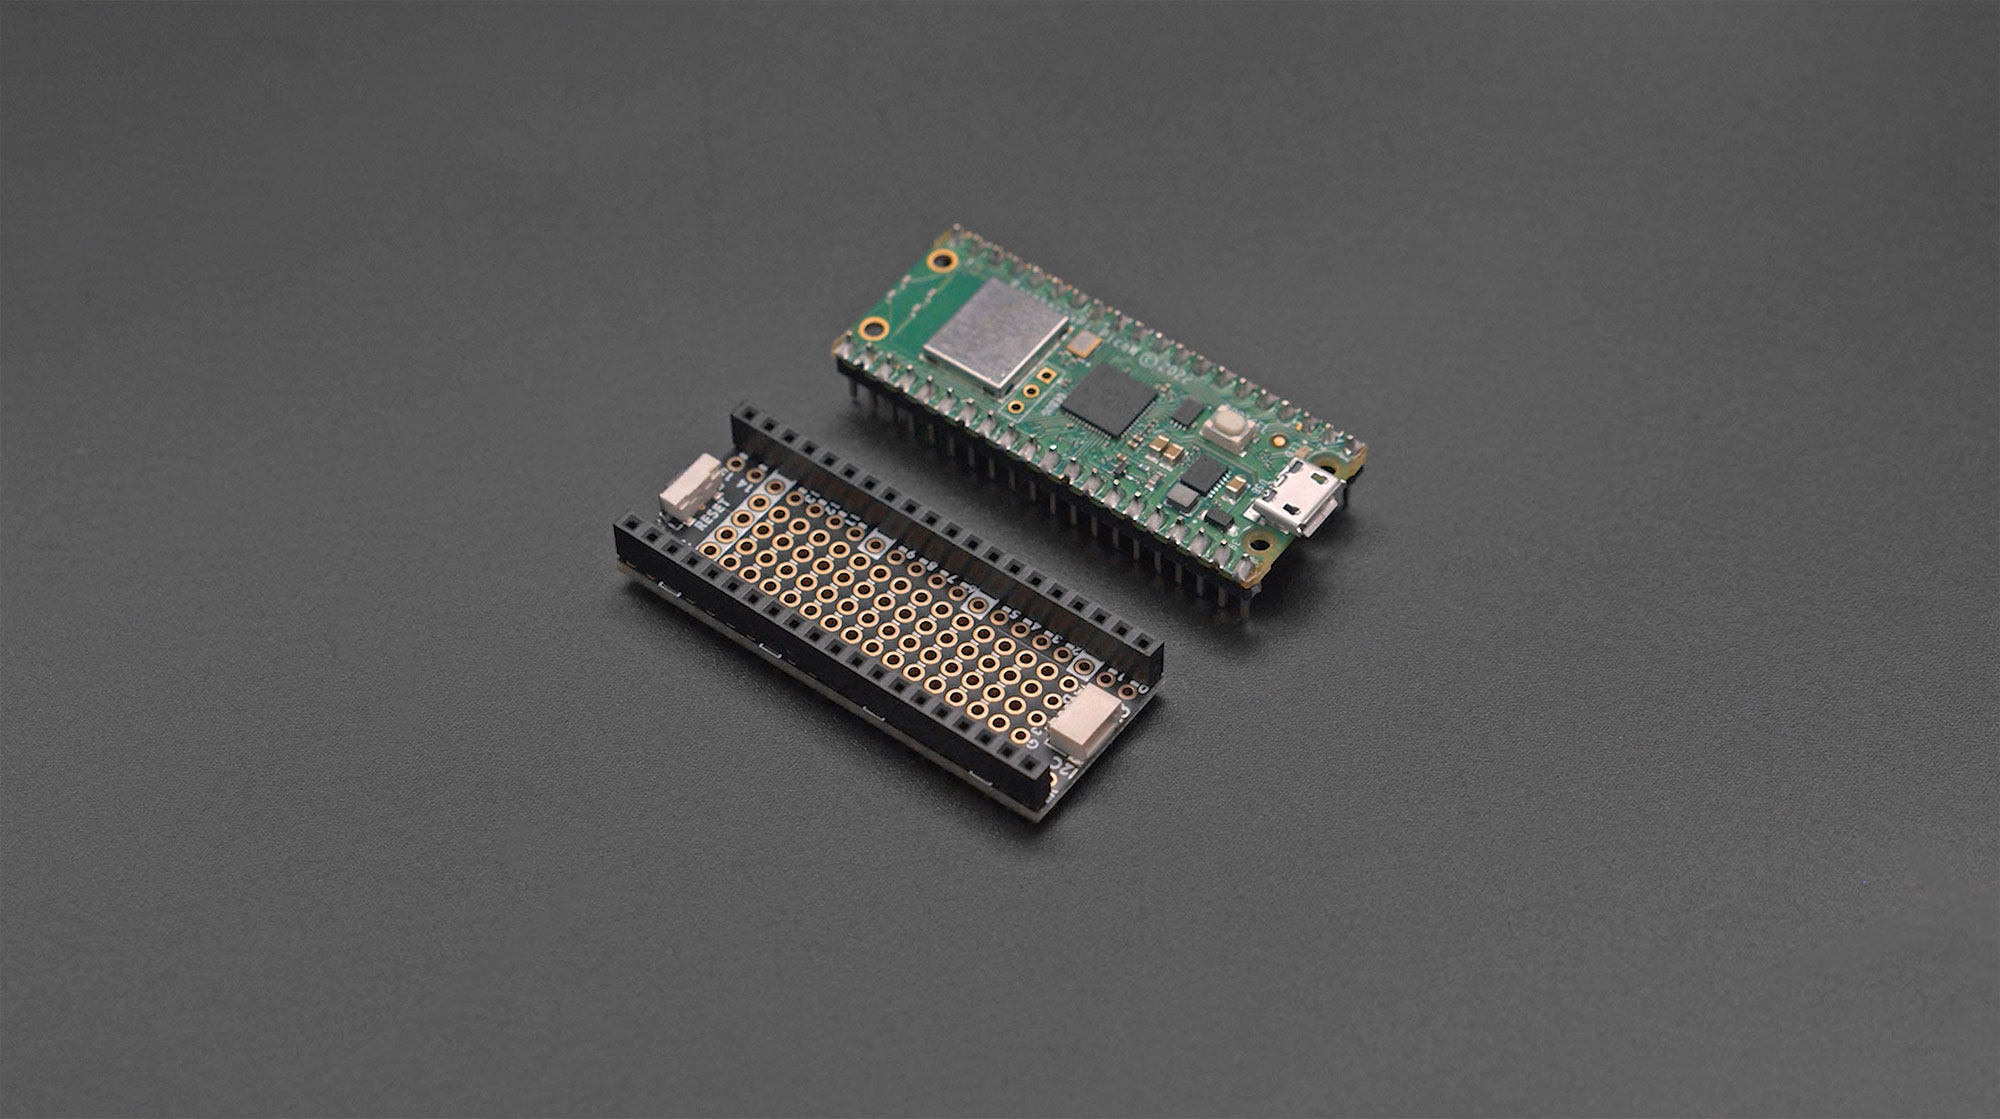
Alright, let’s start with the basics. Raspberry Pi is not just another piece of hardware; it’s a game-changer. Originally designed as an educational tool to teach kids programming, this single-board computer has grown into a powerhouse for hobbyists and professionals alike. It’s compact, affordable, and packed with features that make it perfect for IoT projects.
Here’s why Raspberry Pi is a big deal:
- Cost-Effective: You can get a Raspberry Pi for under $50, making it one of the most affordable options for building an IoT cloud server.
- Community Support: There’s a massive community of developers and enthusiasts who are always ready to help with tutorials, forums, and open-source projects.
- Versatility: From home automation to weather stations, Raspberry Pi can handle almost any IoT project you throw at it.
And let’s not forget about its compatibility with various operating systems and software. Whether you’re using Raspbian, Ubuntu, or even Docker, Raspberry Pi gives you the flexibility to experiment and innovate.
- Best Hairstyles For Over 50s Embrace Your Style With Confidence
- Over 50 Edgy Short Grey Haircuts A Bold Fashion Statement For Every Occasion
Why Build a Raspberry Pi IoT Cloud Server?
Building a Raspberry Pi IoT Cloud Server Free setup might sound intimidating, but trust me, it’s worth it. Here’s why:
1. Control Your Data: With a DIY IoT cloud server, you have full control over your data. No more worrying about third-party services storing your information.
2. Save Money: Commercial cloud services can get expensive, especially as your project scales. With Raspberry Pi, you can avoid those recurring costs.
3. Customize to Your Heart’s Content: Want to add specific features or tweak settings? With Raspberry Pi, the sky’s the limit. You can tailor your server to fit your exact needs.
Now that we’ve covered the “why,” let’s move on to the “how.”
Setting Up Your Raspberry Pi for IoT
Before you can turn your Raspberry Pi into an IoT cloud server, you’ll need to set it up properly. Here’s a step-by-step guide to get you started:
Step 1: Gather Your Materials
First things first, you’ll need the following:
- Raspberry Pi (any model will do, but Pi 4 is recommended for better performance).
- A microSD card (at least 16GB).
- A power supply.
- An Ethernet cable or Wi-Fi dongle.
- A keyboard and monitor (optional, but helpful for setup).
Step 2: Install the Operating System
Next, you’ll need to install an operating system on your Raspberry Pi. Raspbian is a popular choice, but you can also use Ubuntu Server or any other Linux-based OS. Follow these steps:
- Download the Raspberry Pi Imager from the official website.
- Insert your microSD card into your computer.
- Use the Raspberry Pi Imager to write the OS image to the SD card.
Once the OS is installed, insert the SD card into your Raspberry Pi and power it on. You’re ready to roll!
Choosing the Right IoT Cloud Platform
Now that your Raspberry Pi is up and running, it’s time to choose an IoT cloud platform. The good news? You don’t have to pay for one. Here are some of the best free options:
Option 1: Mosquitto MQTT Broker
Mosquitto is a lightweight MQTT broker that’s perfect for IoT projects. It’s easy to install and configure, making it ideal for beginners. Plus, it’s open-source, so you can modify it to suit your needs.
Option 2: Home Assistant
Home Assistant is another excellent choice for building a Raspberry Pi IoT cloud server. It’s designed specifically for home automation and integrates seamlessly with various devices and services.
Option 3: Node-RED
Node-RED is a visual tool for wiring together hardware devices, APIs, and online services. It’s user-friendly and allows you to create complex workflows with minimal coding.
No matter which platform you choose, make sure it aligns with your project goals and skill level.
Connecting Your Devices
Once your Raspberry Pi IoT cloud server is up and running, it’s time to connect your devices. Here’s how:
1. Identify Your Devices: Make a list of all the devices you want to connect, such as sensors, cameras, and smart home appliances.
2. Install Necessary Drivers: Some devices may require specific drivers or libraries. Check the manufacturer’s website for instructions.
3. Configure Your Network: Ensure all your devices are on the same network as your Raspberry Pi. This will make communication between them smoother.
And just like that, you’ve got a fully functional IoT ecosystem!
Securing Your Raspberry Pi IoT Cloud Server
Security should always be a top priority when building an IoT cloud server. Here are some tips to keep your setup safe:
- Use Strong Passwords: Avoid using easily guessable passwords. Instead, opt for complex combinations of letters, numbers, and symbols.
- Enable SSH: Secure Shell (SSH) allows you to remotely access your Raspberry Pi securely. Just make sure to disable password authentication and use key-based authentication instead.
- Keep Software Updated: Regularly update your operating system and installed software to patch any security vulnerabilities.
By following these best practices, you can protect your Raspberry Pi IoT cloud server from potential threats.
Scaling Your IoT Projects
As your IoT projects grow, you might find yourself needing more resources. Here’s how to scale your Raspberry Pi IoT cloud server:
Upgrade Your Hardware
If your current Raspberry Pi model is struggling to keep up, consider upgrading to a newer model. The Pi 4, for example, offers better performance and more RAM than its predecessors.
Optimize Your Code
Efficient coding can go a long way in improving your server’s performance. Look for ways to optimize your scripts and reduce resource usage.
Use Cloud Services as Needed
While the goal is to keep things free, there may come a time when you need to use paid cloud services for additional features. When that happens, choose services that integrate well with your existing setup.
Scaling doesn’t have to be complicated. With a little planning and foresight, you can ensure your Raspberry Pi IoT cloud server grows alongside your projects.
Real-World Applications
So, what can you actually do with a Raspberry Pi IoT cloud server? The possibilities are endless, but here are a few real-world applications to inspire you:
- Smart Home Automation: Control your lights, thermostat, and security system from anywhere in the world.
- Environmental Monitoring: Set up sensors to track temperature, humidity, and air quality in your home or office.
- Remote Surveillance: Use your Raspberry Pi as a surveillance system to monitor your property 24/7.
These are just a few examples. With a little creativity, you can come up with countless ways to use your Raspberry Pi IoT cloud server.
Troubleshooting Common Issues
Even the best-laid plans can hit a snag. Here are some common issues you might encounter and how to fix them:
Problem 1: Connectivity Issues
If your devices aren’t connecting properly, check your network settings and ensure all devices are on the same subnet. You might also want to restart your router or switch to a wired connection.
Problem 2: Performance Bottlenecks
Slow performance can be frustrating. To address this, try closing unnecessary programs, upgrading your hardware, or optimizing your code.
Problem 3: Security Breaches
If you suspect your server has been compromised, immediately change all passwords, update your software, and review your security settings.
By staying proactive and addressing issues as they arise, you can keep your Raspberry Pi IoT cloud server running smoothly.
Conclusion: Your Journey Begins Here
And there you have it, folks—a comprehensive guide to building a Raspberry Pi IoT cloud server free setup. From setting up your hardware to securing your data and scaling your projects, we’ve covered everything you need to know to get started.
Remember, the world of IoT is vast and ever-evolving. Keep learning, experimenting, and pushing the boundaries of what’s possible. And don’t forget to share your experiences with the community. Who knows? You might just inspire someone else to embark on their own Raspberry Pi journey.
So, what are you waiting for? Grab your Raspberry Pi, roll up your sleeves, and let’s build the smart future together!
Table of Contents
- Raspberry Pi IoT Cloud Server Free
- What is Raspberry Pi and Why Should You Care?
- Why Build a Raspberry Pi IoT Cloud Server?
- Setting Up Your Raspberry Pi for IoT
- Choosing the Right IoT Cloud Platform
- Connecting Your Devices
- Securing Your Raspberry Pi IoT Cloud Server
- Scaling Your IoT Projects
- Real-World Applications
- Troubleshooting Common Issues
- Short Dark Bob With Highlights The Ultimate Guide To Elevate Your Look
- Embracing The Journey Growing Out Short Hair Over 50

Build your own cloud on a Raspberry Pi in one hour Slowmin

Tag Raspberry Pi as iot The Engineering Projects
Raspberry Pi Pico W IOT Case by Adafruit Download free STL model
